The WooCommerce Shipcloud extension enables store owners to use its cloud-based service to manage all shipping options from one install, without need for different agreements and accounts. Also offers automated printing of shipping labels.
Installation
↑ Back to top- Download the .zip file from your WooCommerce.com account.
- Go to: WordPress Admin > Plugins > Add New to upload the file you downloaded with Choose File.
- Activate the extension.
Sign up with shipcloud.io
↑ Back to topRegister
↑ Back to top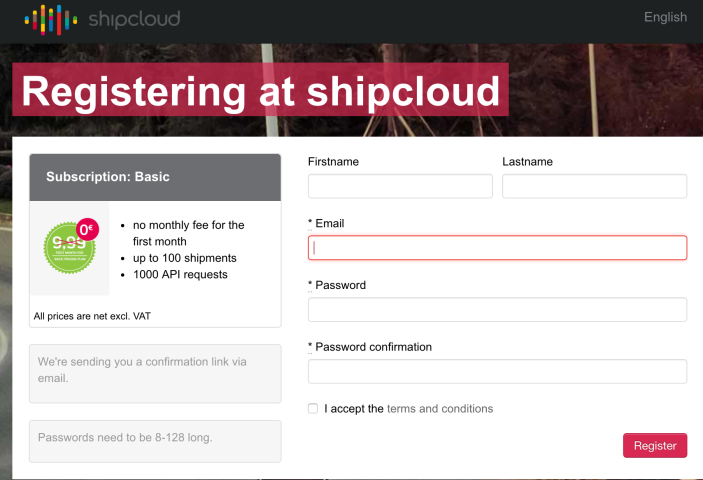
- Go to: shipcloud.io
Click Register Now and select a Plan.
Confirm your email address, then log in.
Enter invoice details, payment info and contact info to complete the process.
Get your API Key
↑ Back to top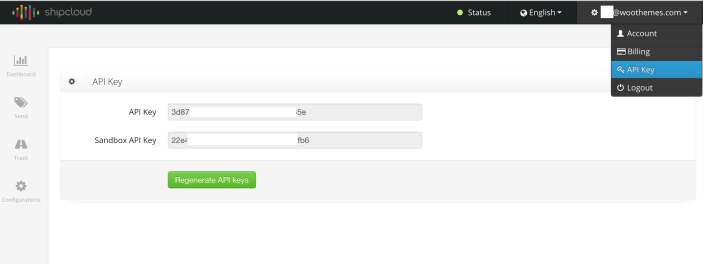
- Select API Key in the upper right corner, located under the email address registered.
Copy the API Key for the next step, or leave the browser window open.
Setup and Configuration
↑ Back to top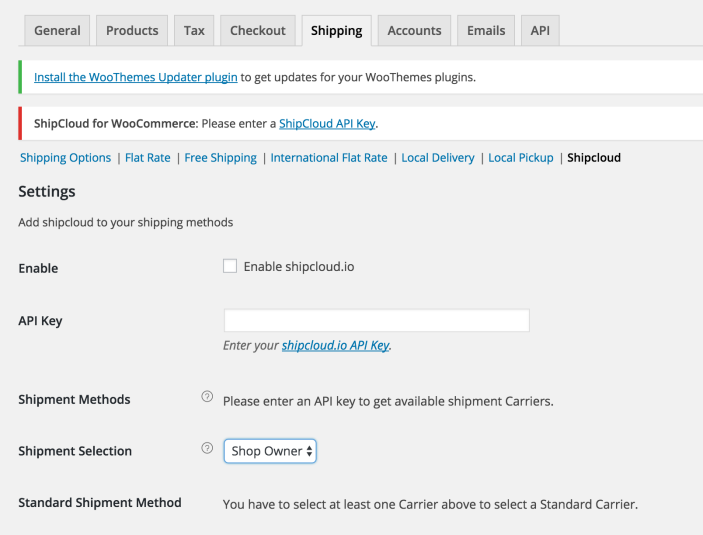 1/ Go to: WooCommerce > Settings > Shipping > Shipcloud.
2/ Tick the checkbox to enable shipcloud.
3/ Enter API Key. Found in your shipcloud.io account (previous section). Entered correctly, Carriers will appear for step #4.
4/ Select a minimum of one carrier in Shipment Methods. Choose as many as you wish.
5/ Select Shop Owner (you) or Customer (buyer) in Shipment Selection, designating who selects the carrier for shipping.
6/ Select the Standard Shipment Method (default), if you have several carriers from step #4.
 7/ Enter the Webhook URL at the shipcloud webhook system, if you want to receive shipment status notification for each order.
8/ Tick the checkbox to enable Debug. The log assists with troubleshooting.
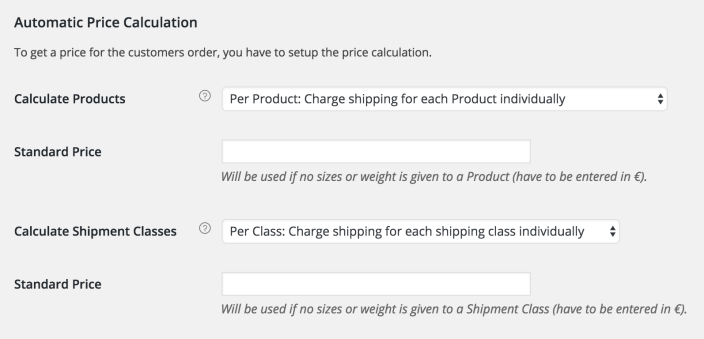 9/ Choose to Calculate Products either Per Product or Per Order.
or
9/ Choose to Calculate Shipment Classes either Per Class or Per Order.
10/ Enter a Standard Price, should no dimensions or weight be entered.
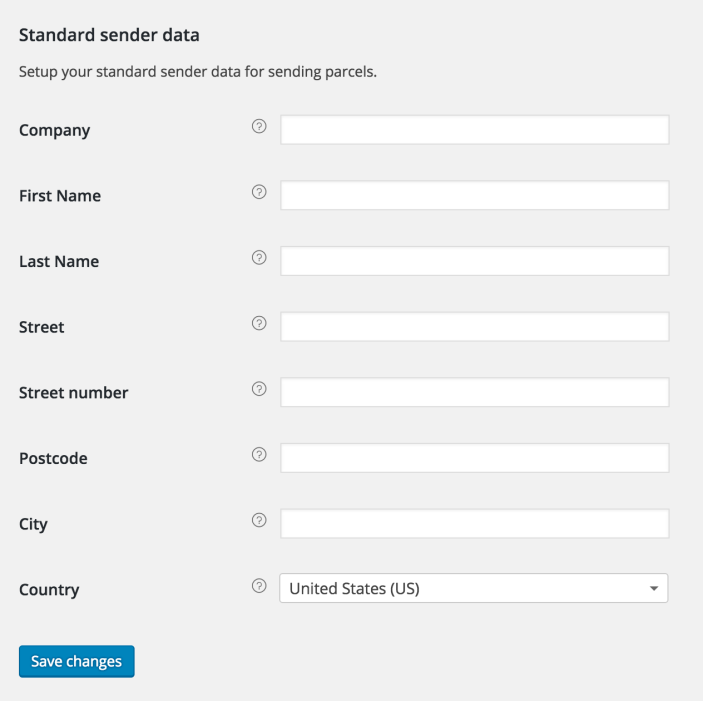 11/ Enter your shipping details under Standard Sender Data to ensure accurate shipping calculations.
12/ Save changes.
