Installation
↑ Back to top- Download the .zip file from your WooCommerce account.
- Go to: WordPress Admin > Plugins > Add New and Upload Plugin. With the file you downloaded in step 1, Choose File.
- Install Now and Activate Plugin.
Setup and Configuration
↑ Back to topAfter activating Image Watermark for WooCommerce, the “Watermark” settings will appear under the WordPress Admin > WooCommerce menu. Click to access the extension settings.
Steps to apply watermark:
↑ Back to top1) Add Watermark Rule
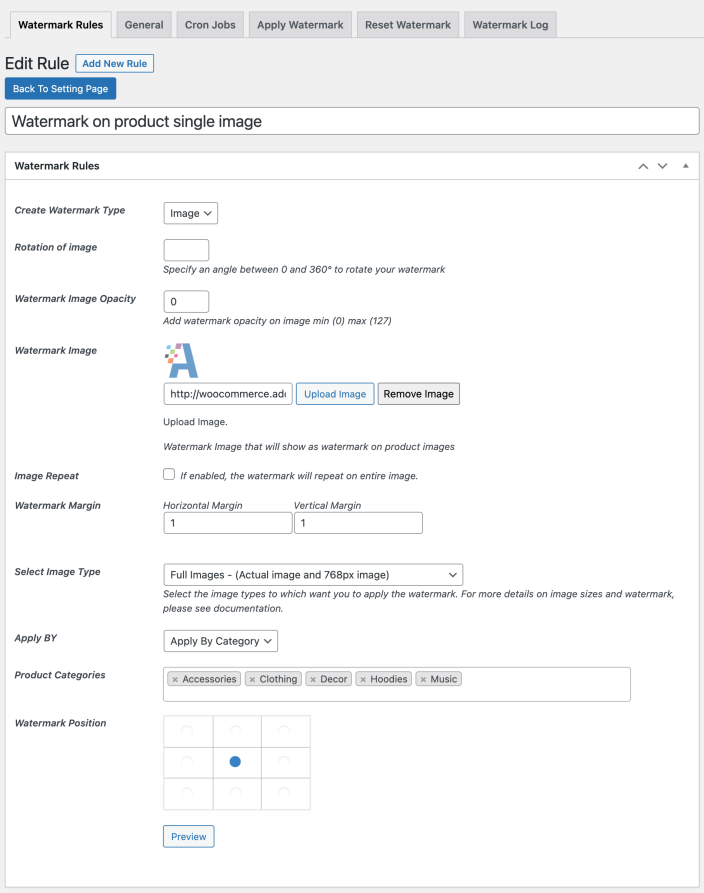
Go to WooCommerce > Watermark > Watermark Rules to create a new watermark rule. You can add multiple rules to apply different watermarks to different products, categories and image sizes.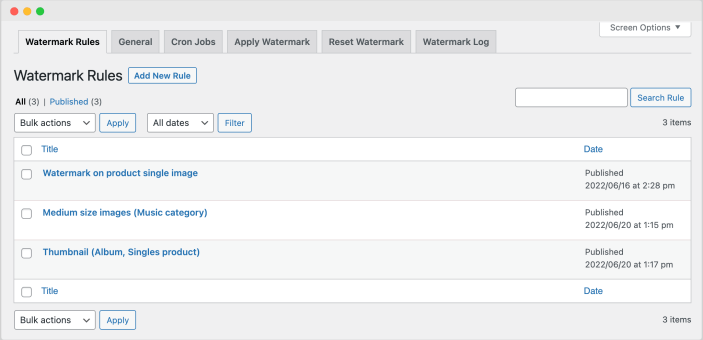 When creating a new rule, you can customize the rule with the following options.
Select watermark type:
Choose from 2 different watermark types, Text or Image.
- Text watermark
- Watermark text
- Customize font, color, opacity and size
- Add text background
- Rotate watermark
- Repeat watermark on entire image
- Add horizontal and vertical margin
- Image watermark
- Upload custom watermark image
- Rotate image and configure opacity
- Repeat watermark on entire image
- Add horizontal and vertical margin
- Full Images
- WooCommerce Full (Actual image)
- Medium Large (768×768)
- Medium Images
- WooCommerce Medium (300×300)
- WooCommerce Catalog (324×324)
- WooCommerce Single (416×416)
- Thumbnails
- WooCommerce Shop Thumbnail (100×100)
- WooCommerce Thumbnail (150×150)
2) Apply Watermark Rule:
Once the watermark rule has been created, apply the rule by going to the “Apply Watermark” tab under WooCommerce > Watermark. This extra step helps in reducing the server load instead of executing watermark whenever the rule is updated. Please note: Ensure that the extension is enabled in General Settings and cronjob is set to a minimum time, 5 products per X-seconds.
Steps to update existing watermark:
↑ Back to top1) Reset watermark rule
In the “Reset Watermark” tab (under WooCommerce > Watermark), reset the existing watermark rule that you are wanting to update. This will remove the existing watermark that is applied to any active rules. Its important to reset the rule before re-applying the rule in order for any changes to go into effect.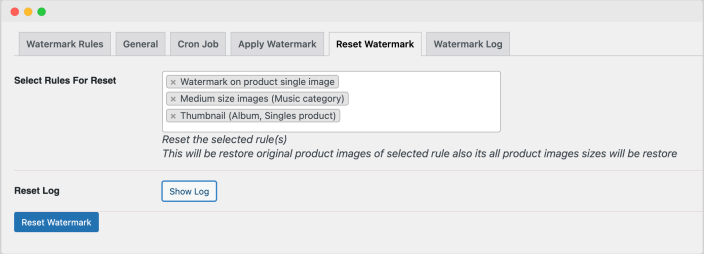
2) Update watermark rule
Once the rule has been reset, the existing watermark will be removed and you can update the rule as needed.3) Apply watermark rule
Once the rule has been updated, you can re-apply the watermark using the “Apply Watermark” tab under WooCommerce > Watermark. Please note: We understand the process is not optimal but it helps in managing your server resources and avoids any incorrect watermark implementations.Reseting all watermark images:
↑ Back to top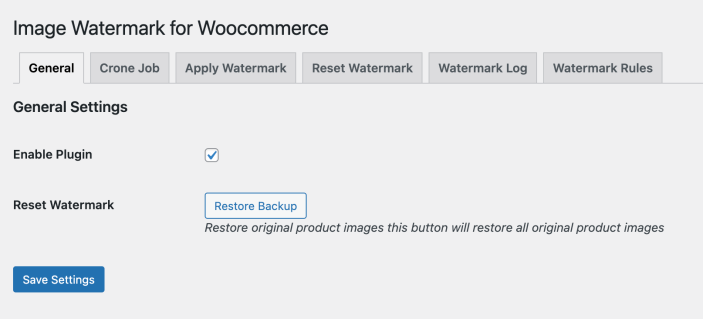
Cron Job Settings
↑ Back to top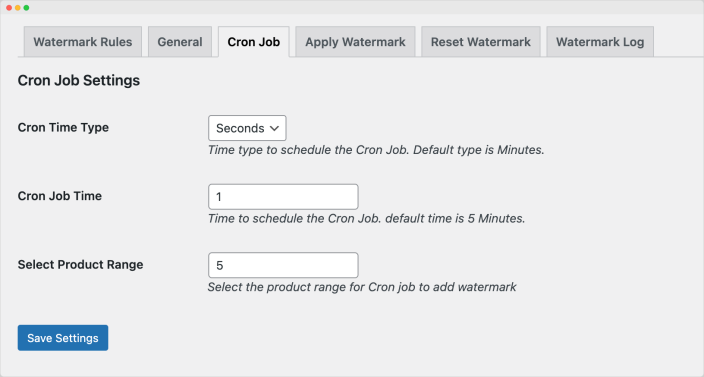
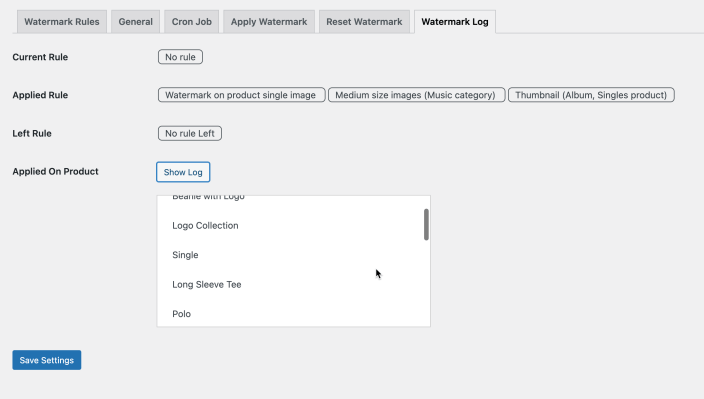
Watermark Log
↑ Back to top