This payment gateway uses onsite payment, and requires an SSL certificate and a server that supports SSL to work.
Note: This product is no longer for sale at WooCommerce.com. Documentation is not being updated.
Installation
↑ Back to top- Download the .zip file from your WooCommerce account.
- Go to: WordPress Admin > Plugins > Add New to upload the file you downloaded with Choose File.
- Activate the extension.
Sign up with Payment Express
↑ Back to top
- Go to the Payment Express website and sign up for an account at: https://www.paymentexpress.com/signup
- Wait for Sales to contact you with an answer on activation.
- Request Px-Post Credentials (username and password) from Support. There is no charge for this.
Setup and Configuration
↑ Back to top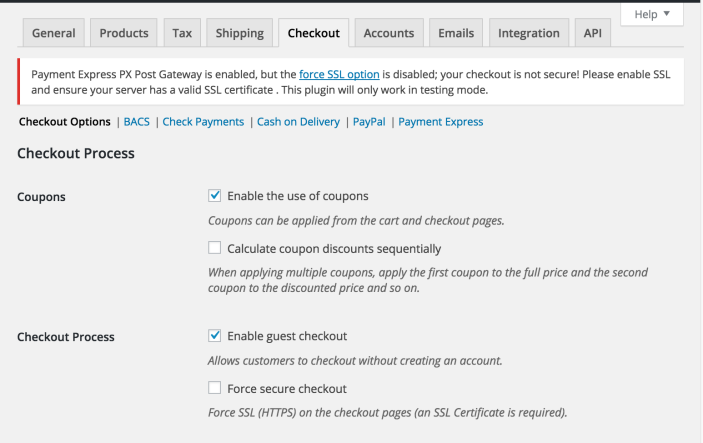
- Go to: WooCommerce > Settings > Checkout.
- Save changes.
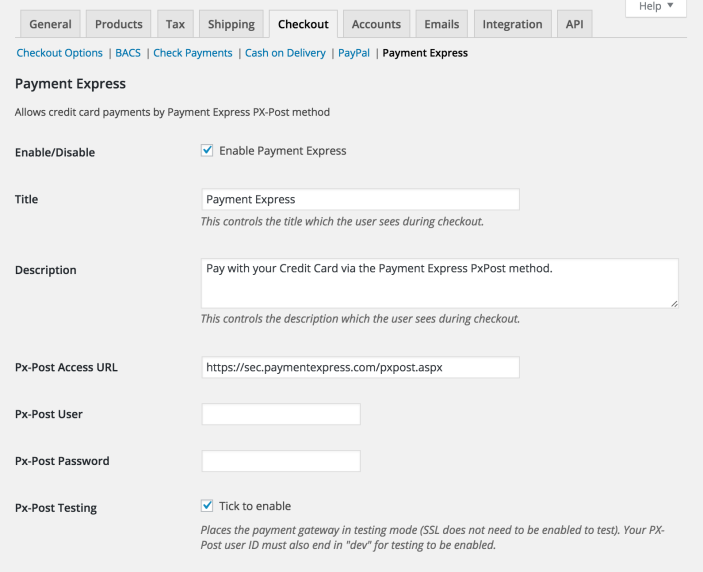
- Go to: WooCommerce > Settings > Checkout > Payment Express.
Tick the checkbox to Enable/Disable.
Enter a Title and Description shown to customers in checkout, or leave the default text.
Enter your Px-Post Username and Password. Credentials obtained from Payment Express after activation of your Payment Express account.
Untick the checkbox for Px-Post Testing, if you wish to use Live mode.
9. Save changes.