- Download the .zip file from your WooCommerce account.
- Go to: WordPress Admin > Plugins > Add New and Upload Plugin. With the file you have downloaded, Choose File.
- Install Now and Activate.
After activating Cart and Order Restrictions, a new “Order Restrictions” option will appear under the WooCommerce menu in your WordPress Admin panel. Click to access the extension settings.
Creating New Restriction Rules:
↑ Back to top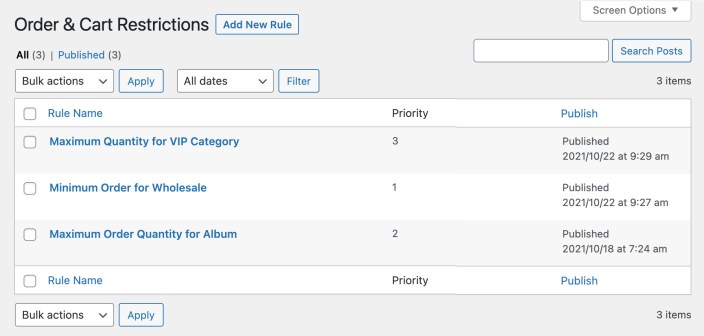 To create a new rule, click the Add New Rule button, enter a custom rule name and configure the following options:
Six restriction modes/types
↑ Back to topSelect product and category
↑ Back to topSelect user roles and customers
↑ Back to topDefine Quantity/Amount Restrictions:
↑ Back to topReset Duration:
↑ Back to top
Date Range:
↑ Back to topError messages:
↑ Back to top
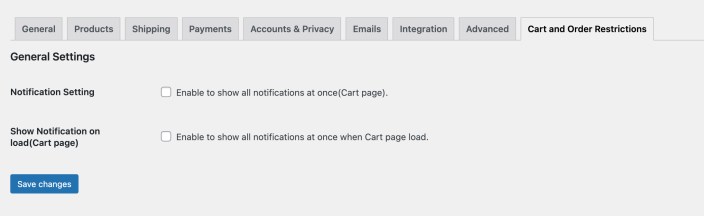
General Settings:
↑ Back to top- Notification setting – Enable or disable option to show all restriction messages at once on cart page.
- Show Notification on load – You can choose to display restriction messages when the cart page loads or when the user clicks on proceed to checkout.