Instant Checkout for WooCommerce allows you to integrate a scalable shopping cart into your WooCommerce website.
Store Owner’s Guide
↑ Back to topInstallation
↑ Back to top
- Log in to your WordPress Admin Panel.
- Navigate to the WordPress Admin Dashboard → Plugins → Add New.
- Click on the Upload Plugin button on the top left corner of your screen.
- Next, click the Choose file button in the box that appears below.
- Select the zip file that you have downloaded and upload it.
- Click on the Activate Plugin button.
General Settings
↑ Back to topTo access Instant Checkout plugin settings, in the WordPress Admin Dashboard, navigate to WooCommerce > Settings > Instant Checkout.

Within the Instant Checkout tab, users will have two settings options: General and Customization.
General Settings – Configuration
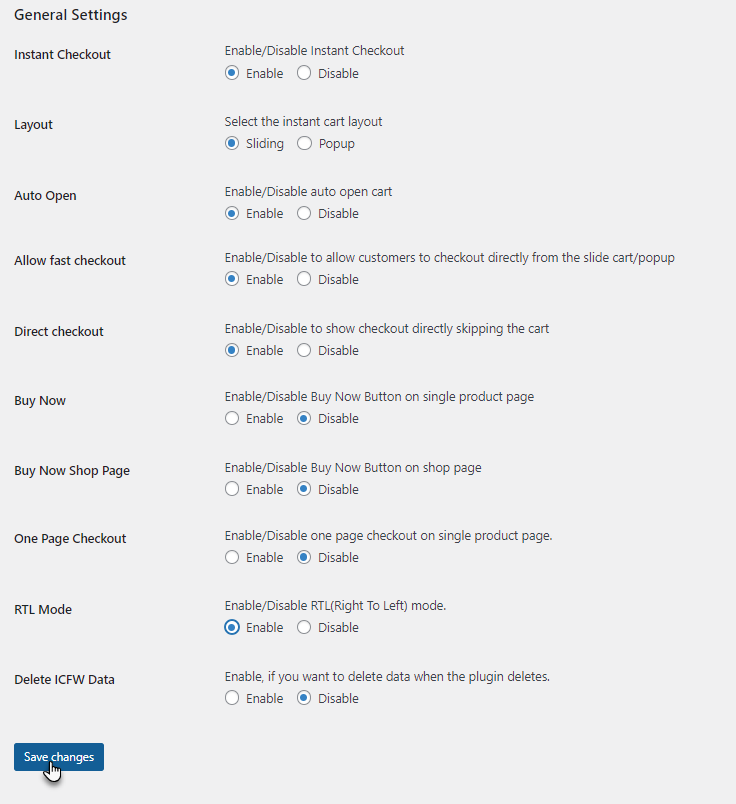
↑ Back to topWithin General Settings, the following options are available to configure:
- Instant Checkout – Display instant checkout’s side cart on the website.

- Auto-open cart – Enable/disable the ability to automatically open when a product is added to the checkout cart.

- Product Image – Display the product’s image on the cart’s layout.

- Quantity Selector – Enable/disable the quantity selector for products in the cart.

- Coupons Field – Display the coupon field in the cart.

- Cart Widget – Display the checkout cart widget using Guttenberg blocks.

- Suggestion Cart – Display the suggested or recommended products in the checkout cart.

- Suggested Items Title – Display the titles for suggested items.

Select the enable button to enable Instant Checkout plugin functionality.
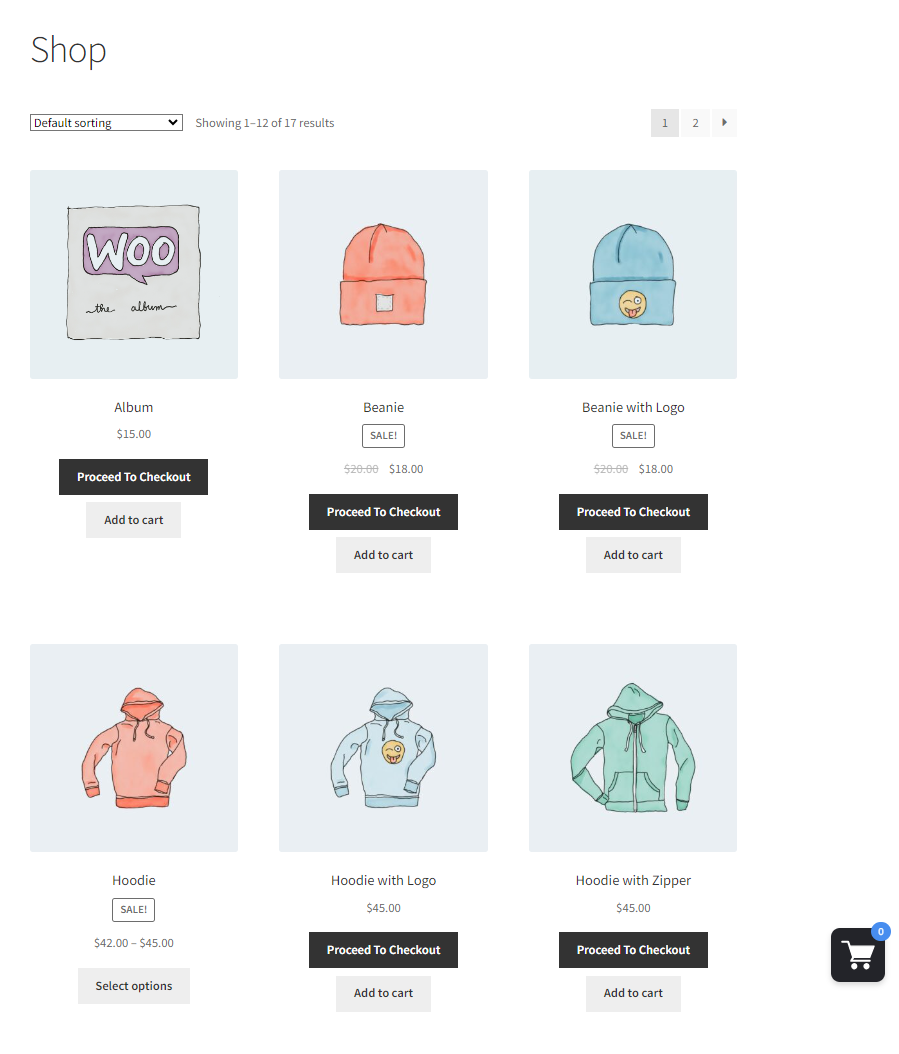
Buy Now
↑ Back to top- The Admin can now add Buy Now from the Instant Checkout, General Settings.
- When clicked on the Buy Now button, the user will be redirected to the checkout page skipping the cart process.
- Navigate to the WordPress Admin Dashboard → WooCommerce → Settings → Instant Checkout.
- Navigate and click on the Instant Checkout tab.
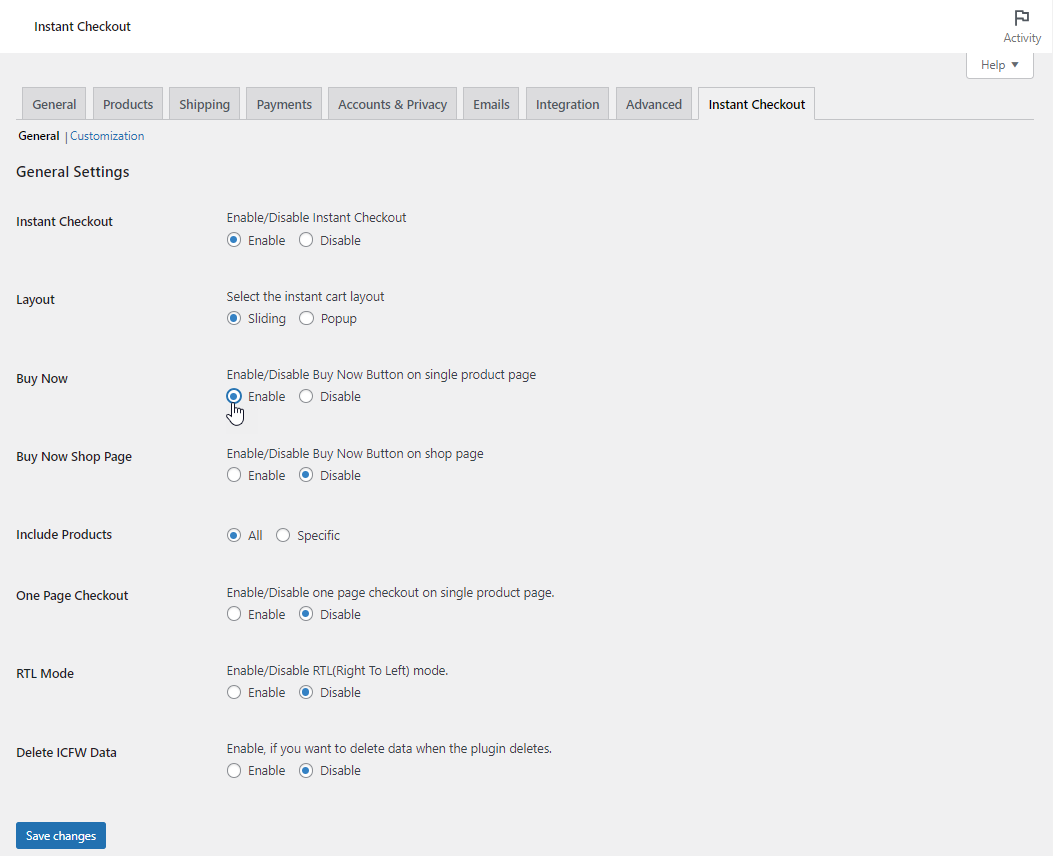
- Navigate Buy Now button in General Settings.
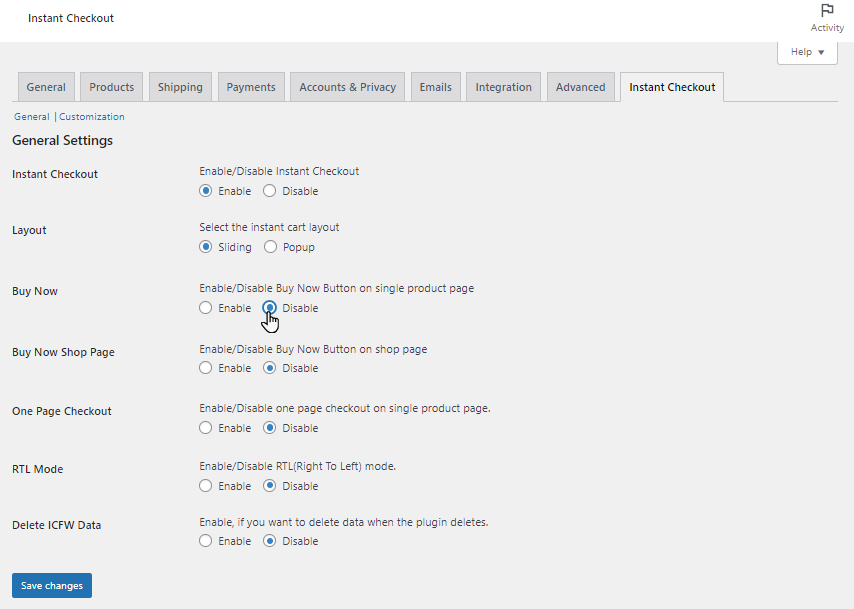
- Click on Enable radio-button.
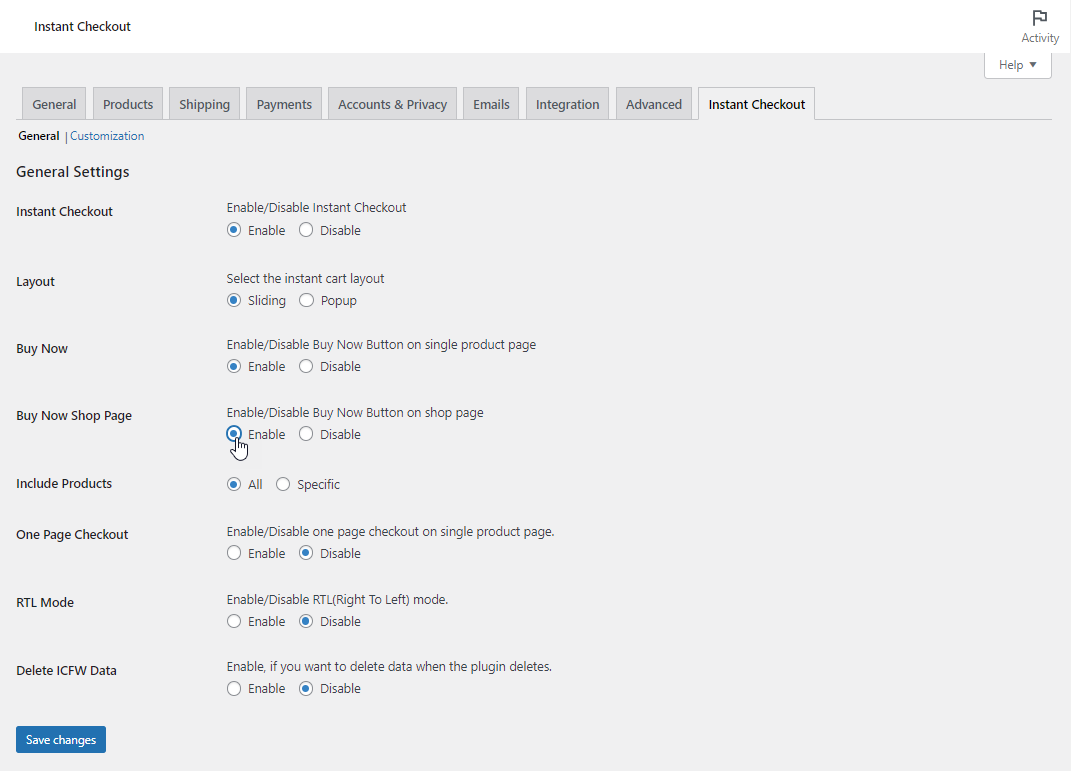
Buy Now Shop Page
- Navigate Instant Checkout => General => Buy Now Shop Page.
- Click on Enable radio-button.
Include Products:
All
- Navigate Instant Checkout => General => Buy Now => Enable.
- An option of Include Products will appear.
- Click and select All. To display the Buy Now button on All products.
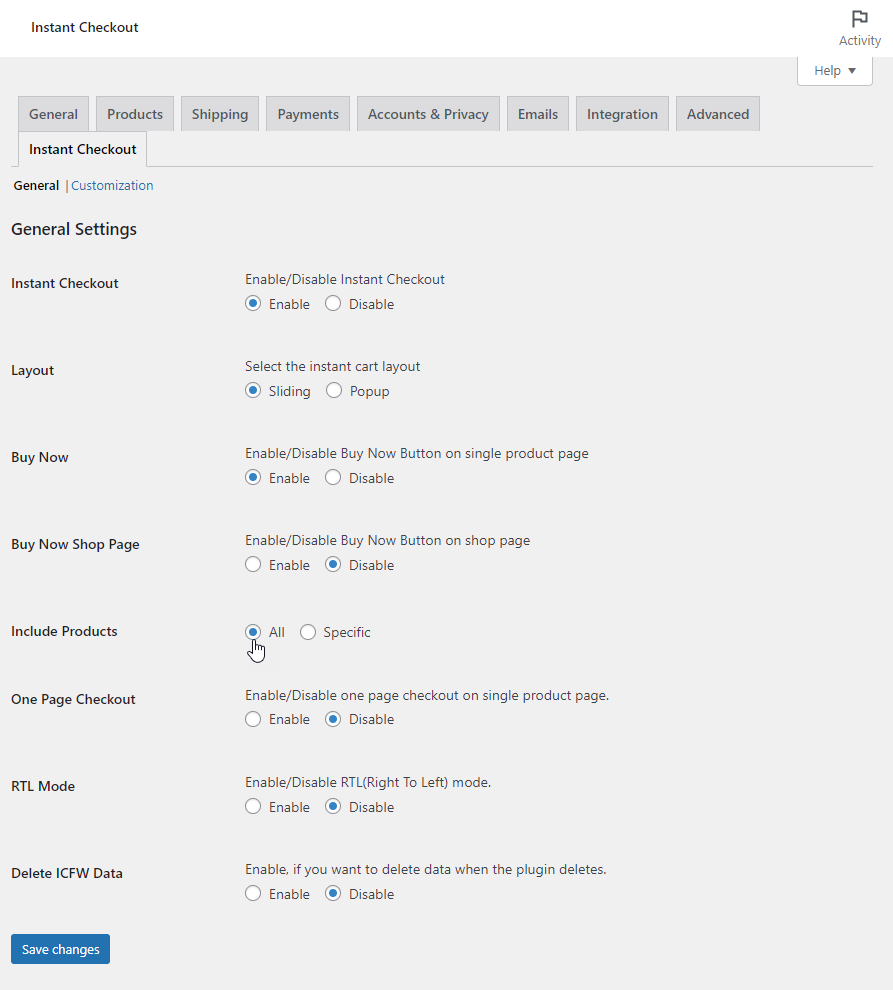
- Click on Save Changes.

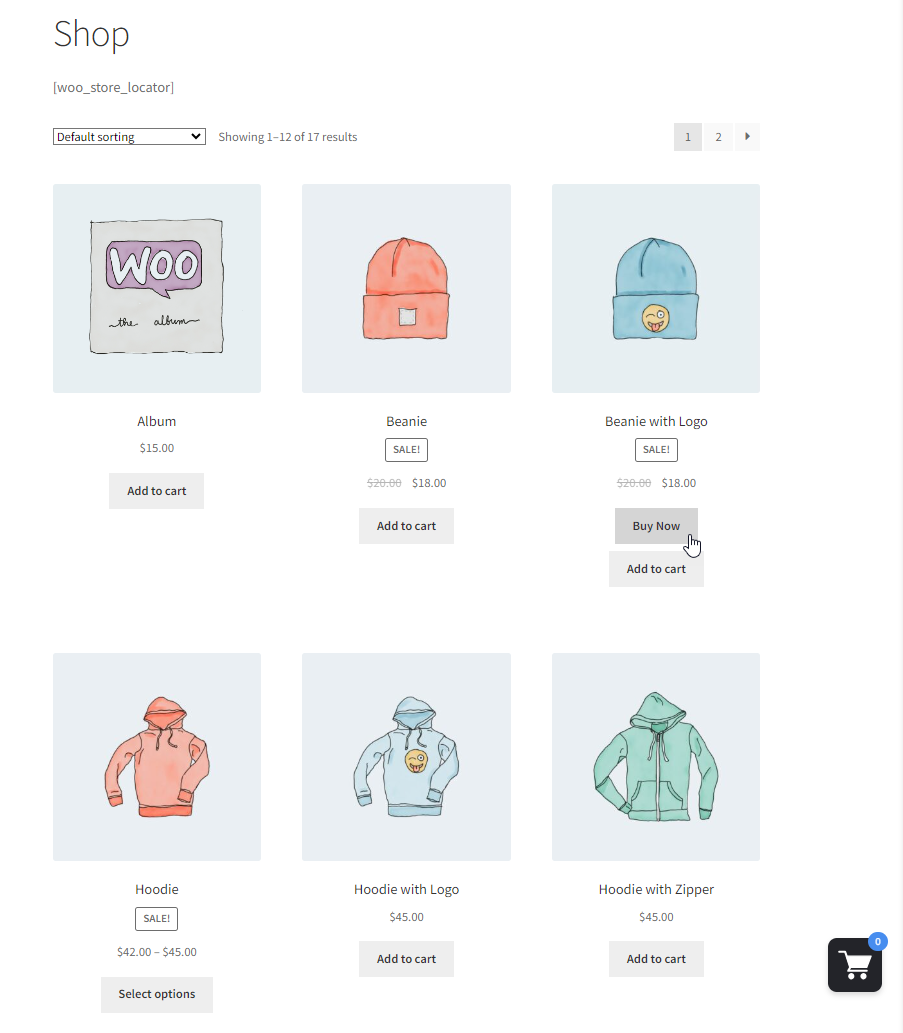
Front-End Impact:
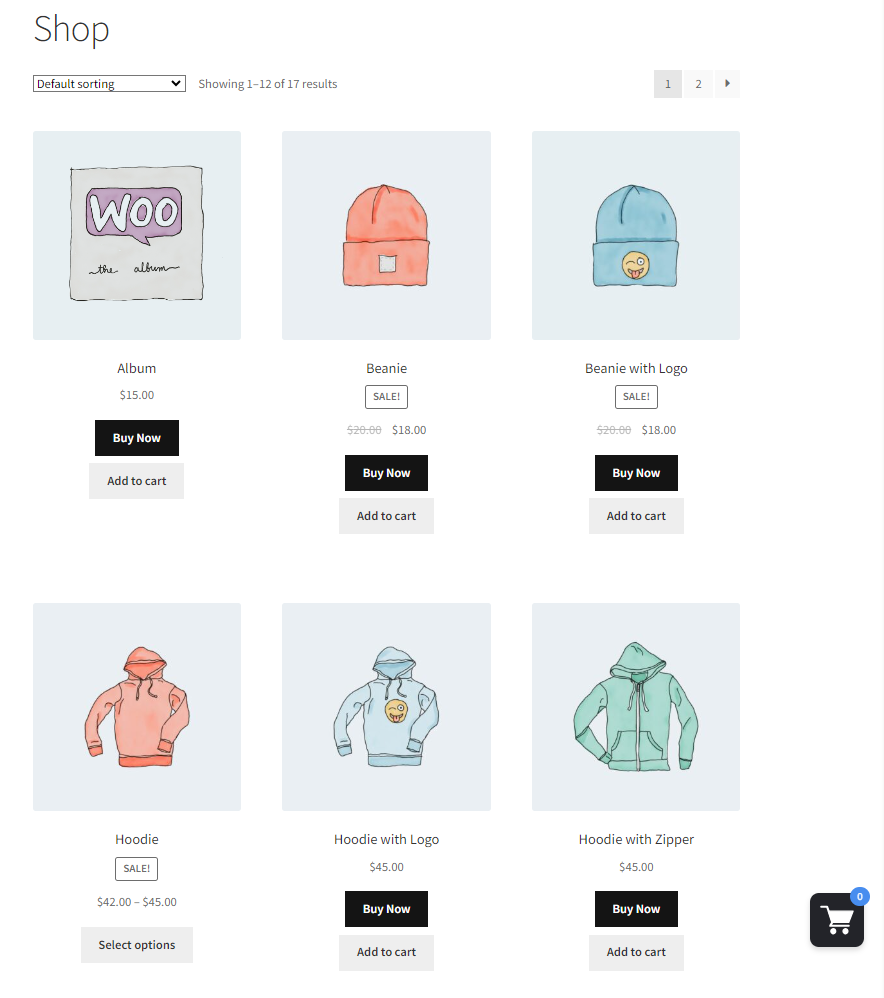
Specific
- Navigate Instant Checkout => General => Buy Now => Enable.
- An option of Include Products will appear.
- Click and select Specific.
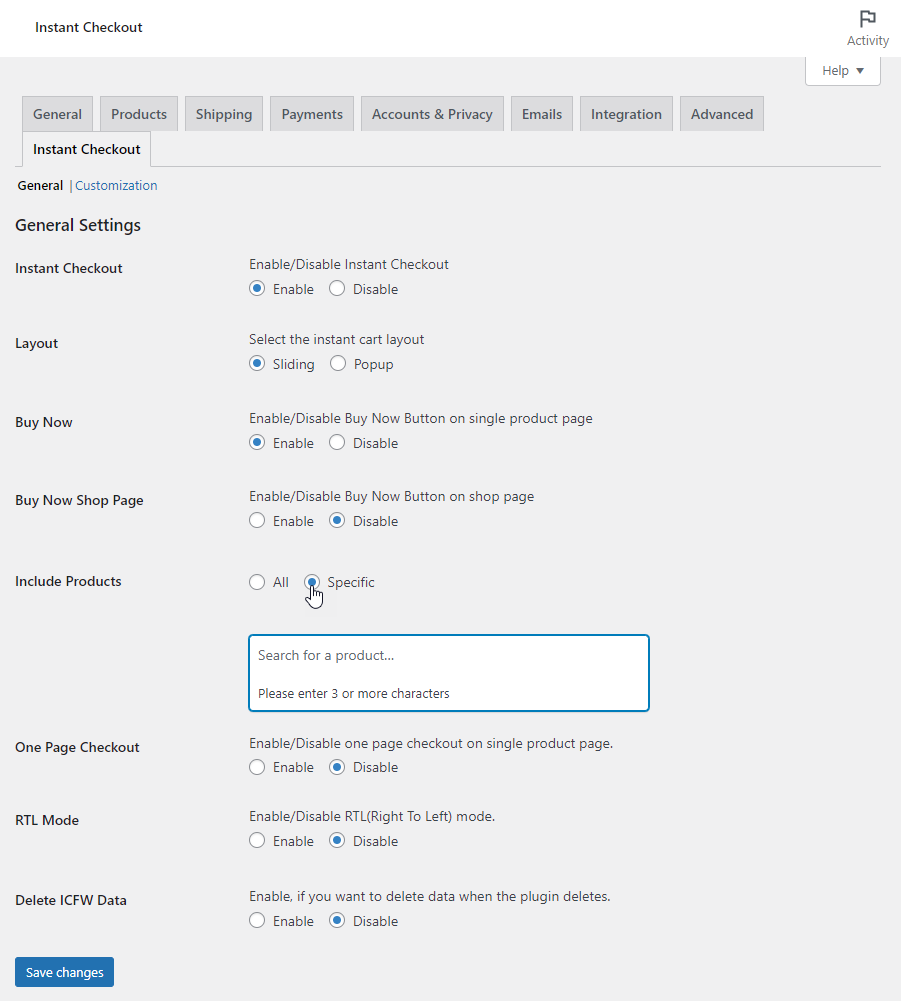
- A search box will appear , search product on which the admin wants to show the Buy Now button.
- Click on Save Changes.
Front-End Impact:
Customization
- Admin is able to customise the Buy Now button.
- Navigate WooCommerce => Settings => Instant Checkout => Customization.
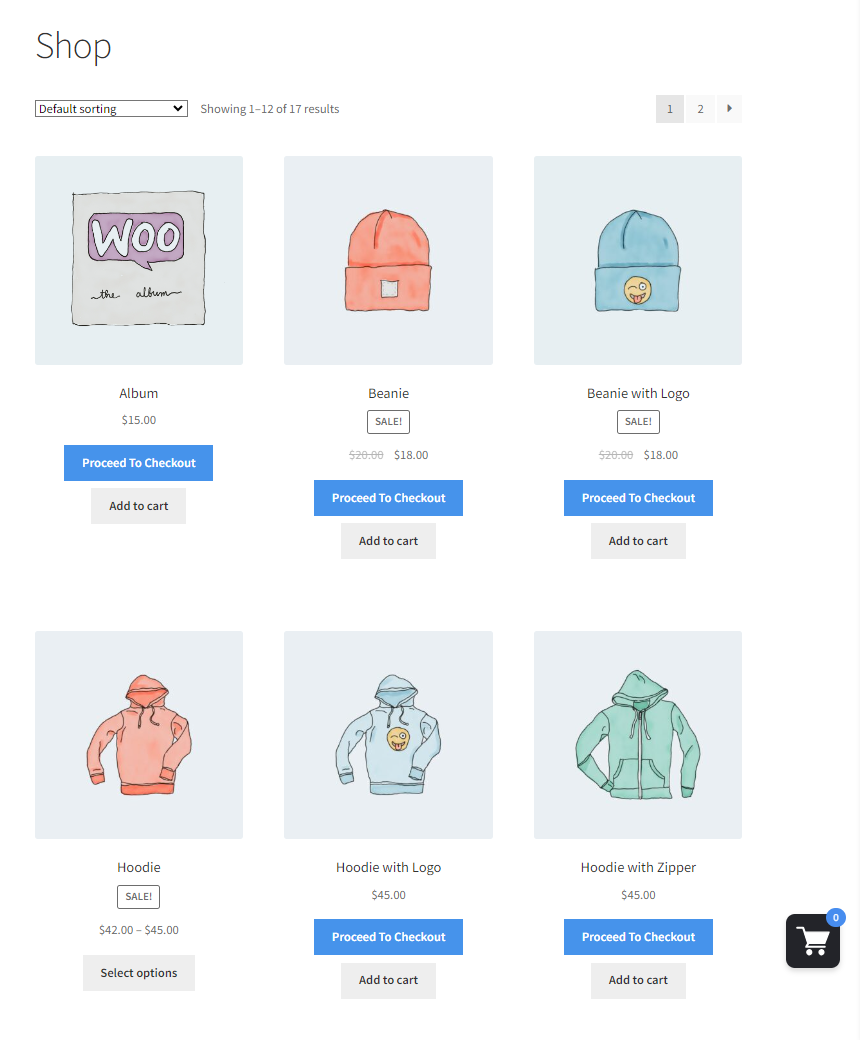
Buy Now Button Label
- Admin can change the Buy Now Button Label, which will display on the front-end.
- Navigate Buy Now Button Label , enter the label in the textbox.
- Before:

- After:

Buy Now Button BG Color
- Admin can change the Buy Now Button BG Color, which will display on the front-end.
- Navigate Buy Now Button BG Color , select the colour from tooltip or enter the desired colour code.
- Before:
- After:
Buy Now Button Text Color
- Admin can change the Buy Now Button Text Color, which will display on the front-end.
- Navigate Buy Now Button Text Color , select the colour from tooltip or enter the desired colour code.

- Before:

- After:
One Page Checkout
↑ Back to top- The Admin can now add One Page Checkout from the Instant Checkout, General Settings.
- When clicked on the Add to Cart button on the product page, the Checkout page will appear on the product page.
- Navigate to the WordPress Admin Dashboard → WooCommerce → Settings → Instant Checkout.
- Navigate One Page Checkout, click on the enable radio button.
- Click on Save Changes.

Front-End Impact:
- Click on the Add to Cart button.
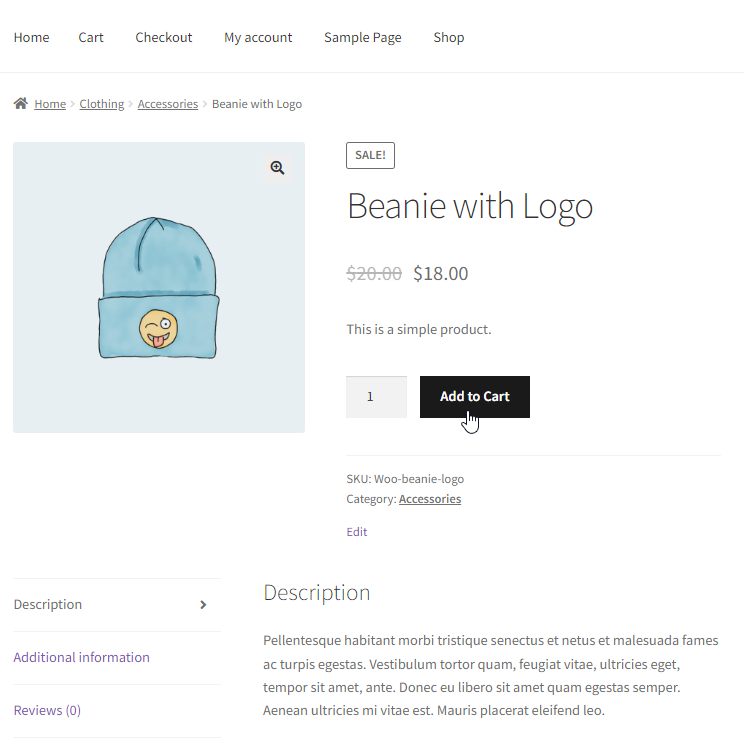
- The Checkout page will appear on the product page.

- After clicking Place Order , the user will be redirected to Checkout.
RTL Mode
↑ Back to top- The Admin can now add RTL Mode from the Instant Checkout, General Settings.
- Navigate to the WordPress Admin Dashboard → WooCommerce → Settings → Instant Checkout.
- Navigate RTL Mode in General Settings.
- Enable the mode
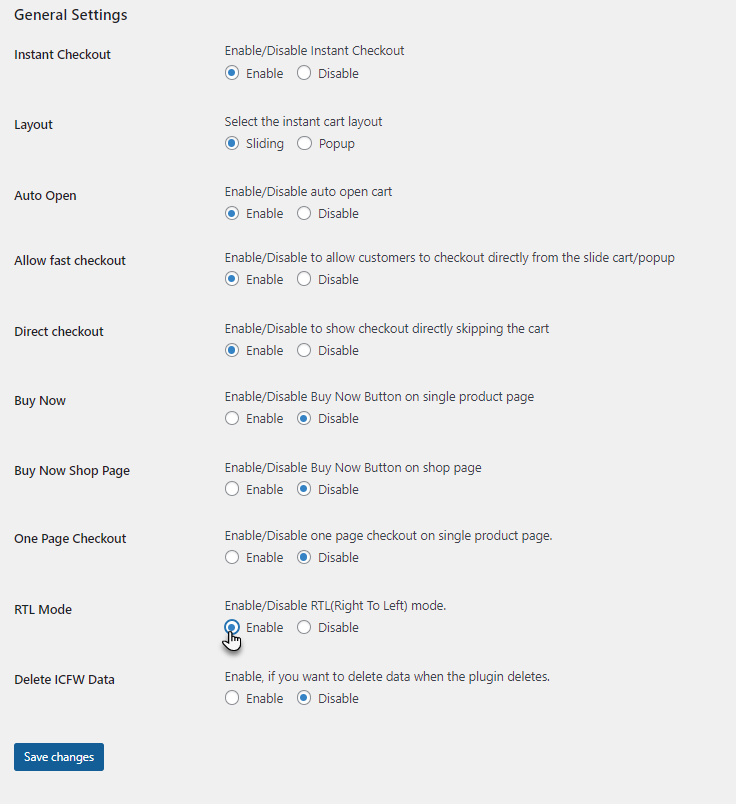
- Click on Save Changes.
Front-End Impact:
- On the front-end , when a customer adds a product in a cart from the Shop page.
- Both on Cart and Checkout Page, all the fields will be shifted from Right To Left.
Front-End Impact (Pop-up)
Front-End Impact (Sliding)

Integration
Instant Checkout is compatible with following plugins:
- Address Field Autocomplete For WooCommerce
- Smart Product Bundles For WooCommerce
Address Field Autocomplete For WooCommerce
↑ Back to top- Once the Plugins are installed and activated.
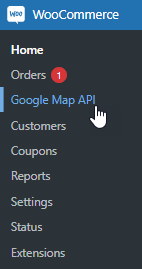
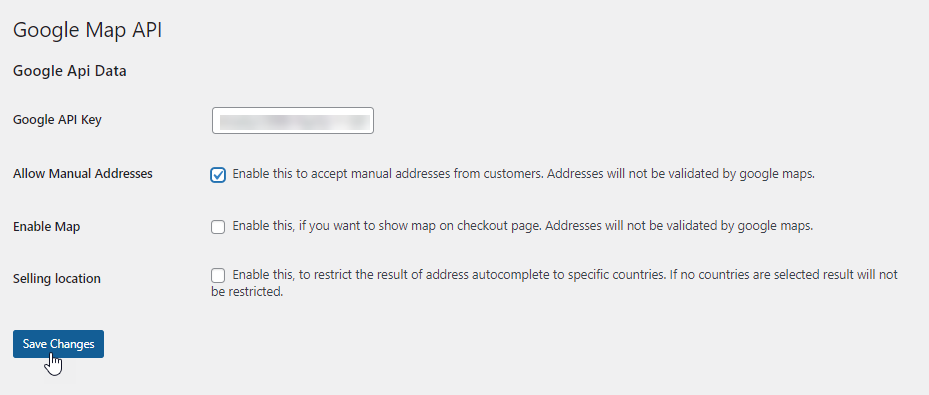
- Go to Dashboard => WooCommerce => Google Map API
- Navigate Google API Key.
- Enter the valid API key in the textbox.
- Click on Save Changes.
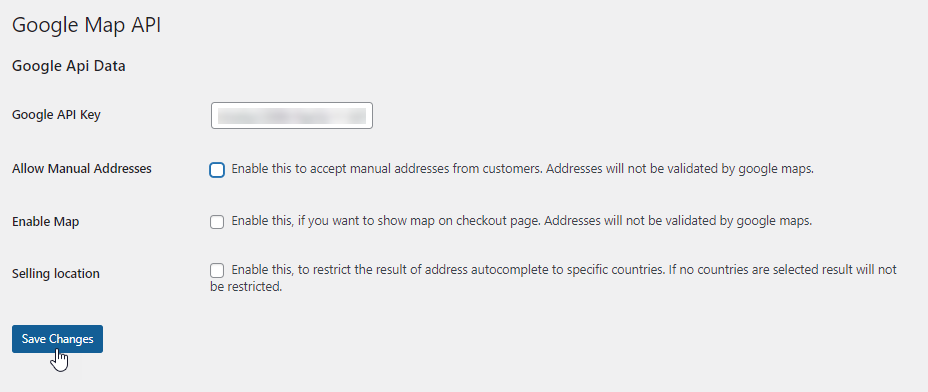
Allow Manual Addresses
- Admin can click on the Allow Manual Addresses checkbox , to accept manual addresses from customers.
- Navigate Allow Manual Addresses, click on checkbox to enable.
- Click on Save Changes.
Front-End Impact:
- On the front-end , when a customer adds a product on cart. Then on the checkout page a text field of Selected Location will appear , where the customer will add their desired location manually.
Front-End Impact (Pop-up)
Front-End Impact (Sliding)
Enable Map
- On the front-end , when a customer adds a product on cart. Then on the checkout page a Google Map will appear.
Note: Addresses will not be validated by google maps.
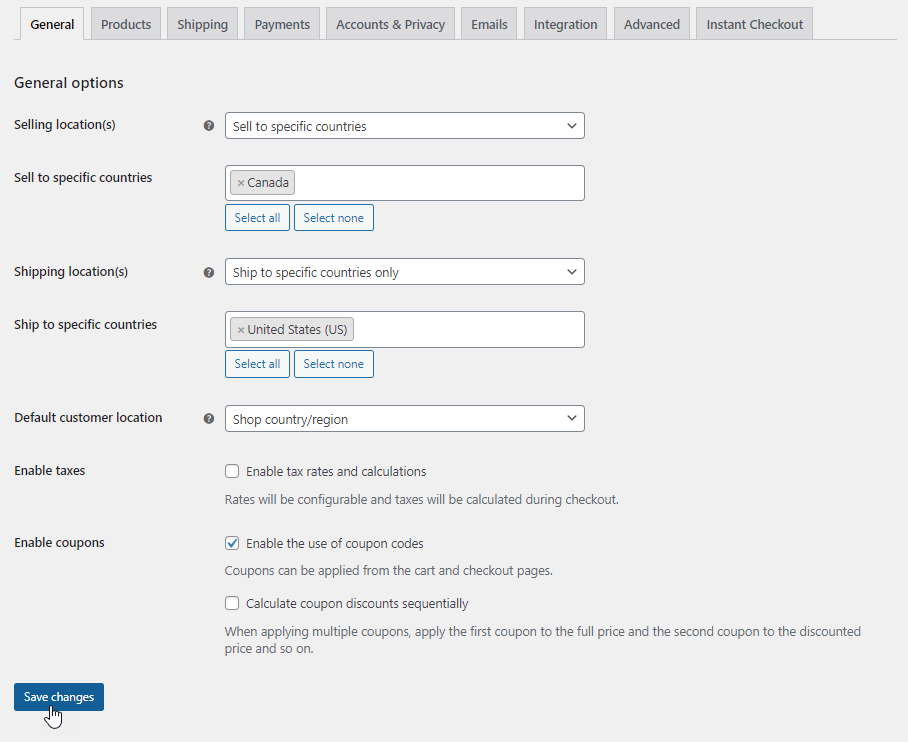
Selling location
- Go to Dashboard => WooCommerce => Settings => General.
- Navigate General Options.
- Admin can select the desired settings to restrict customers.
- Click on Save Changes.
Front-End Impact

Smart Product Bundles For WooCommerce
- Once the Plugins are installed and activated.
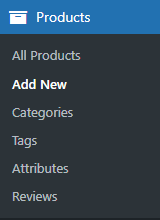
- Go to Dashboard => Products => Add New
- Make a Bundle Product.
Front-End Impact
- On the front-end , when a customer adds a product in cart on the product page.
Front-End Impact (Pop-up)
- Then click on the Cart button , a Pop-up will appear.

Front-End Impact (Sliding)
- On the front-end , when a customer adds a product in cart on the product page.
- Then click on the Cart button , a Sliding bar will appear.
Widget Cart Support
↑ Back to top
To add a widget, the user must add the Instant Checkout widget from the Gutenberg block.
First, enable widget cart support in plugin settings.

Next, navigate to WordPress Admin Dashboard > Appearance > Widgets.
A page will appear where the user can add the desired widget under the desired section.
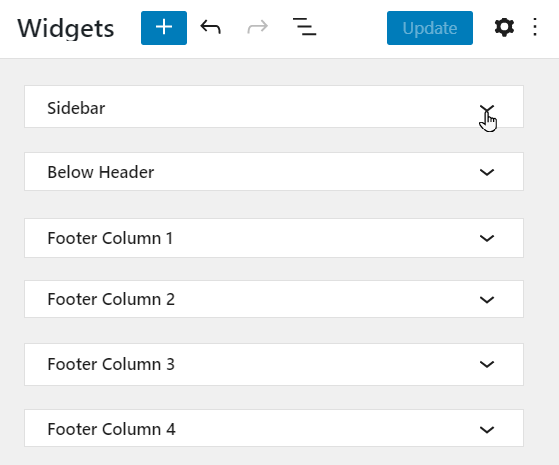
After selecting the desired section, such as Sidebar, click the + button to add the widget.
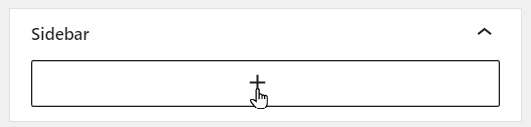
Now, select Instant Checkout from the Guttenberg block.
Select the Save button.
Front-End
↑ Back to topBefore

After

Suggestion Cart
↑ Back to top
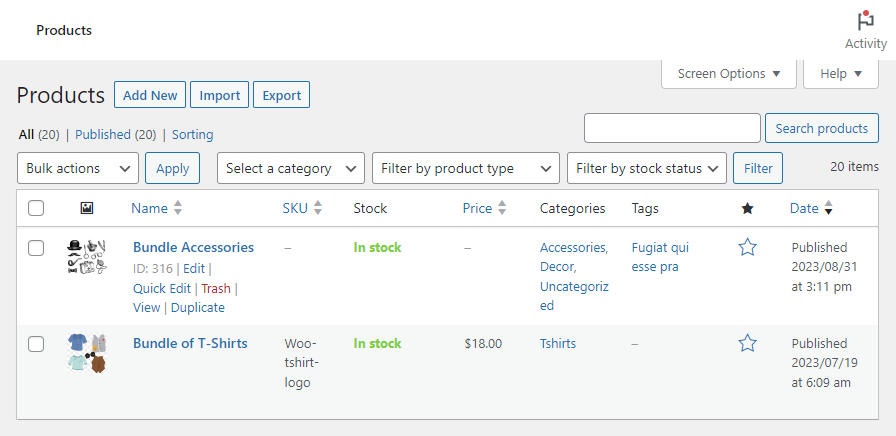
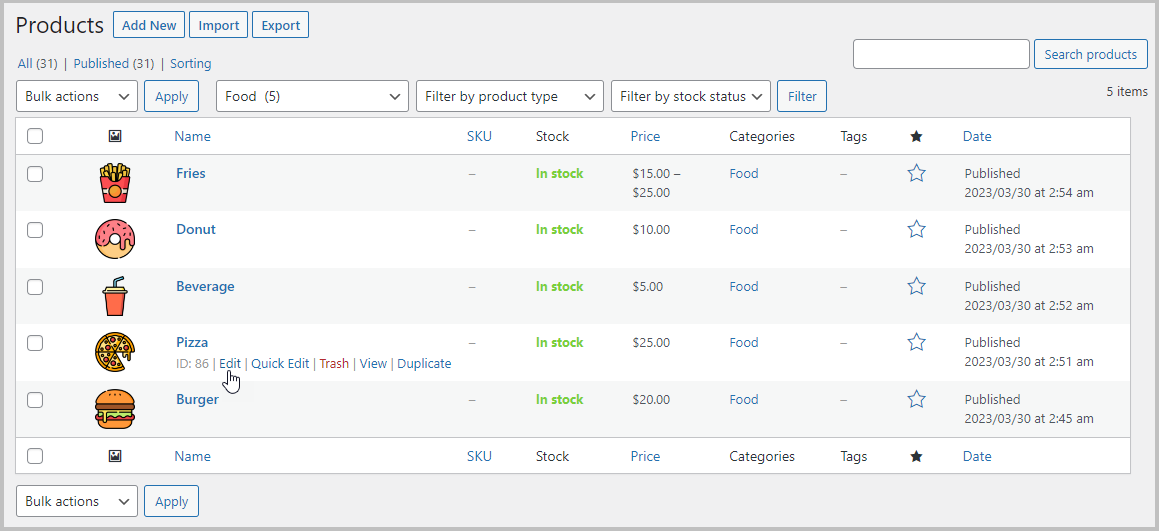
In order to use the Suggestion Cart option, the user must define the cross-sell for each product. To add cross-sells, navigate to WordPress Admin Dashboard > WooCommerce > Products > All Products.

Select the desired product.
Now, under the Product data section, select Linked Products.
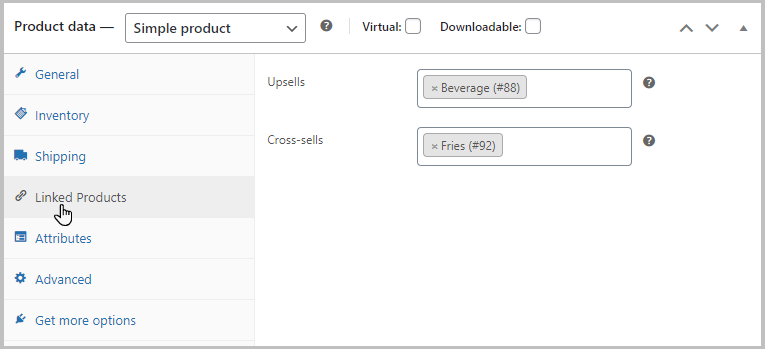
Under the Cross-sells search, select the desired product(s) to link. The cross-sell products will now display on the cart screen.

Layout
↑ Back to top
- The admin can now change the layout of the Instant Cart.
- Navigate to the WordPress Admin Dashboard → Settings → Instant Checkout → General Settings.
- By default, the sliding option is selected.
- Go to the Layout and select the layout for the instant cart.
- It offers two layouts.
- Sliding.
- Popup.
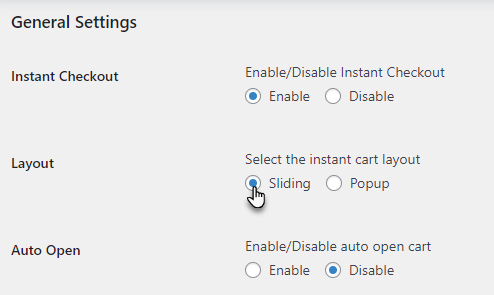
- Click on the Save Changes button.
Front-End Impact
Sliding Layout
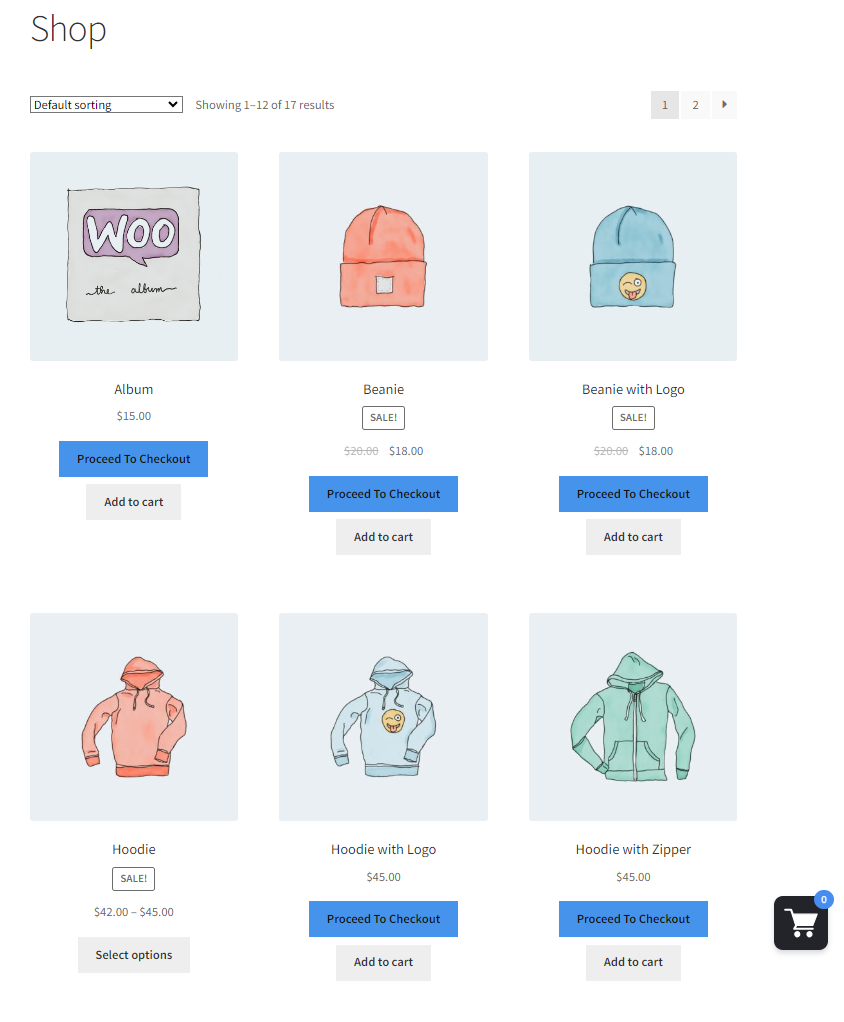
↑ Back to top- Go to the shop.
- Add a product to the cart.
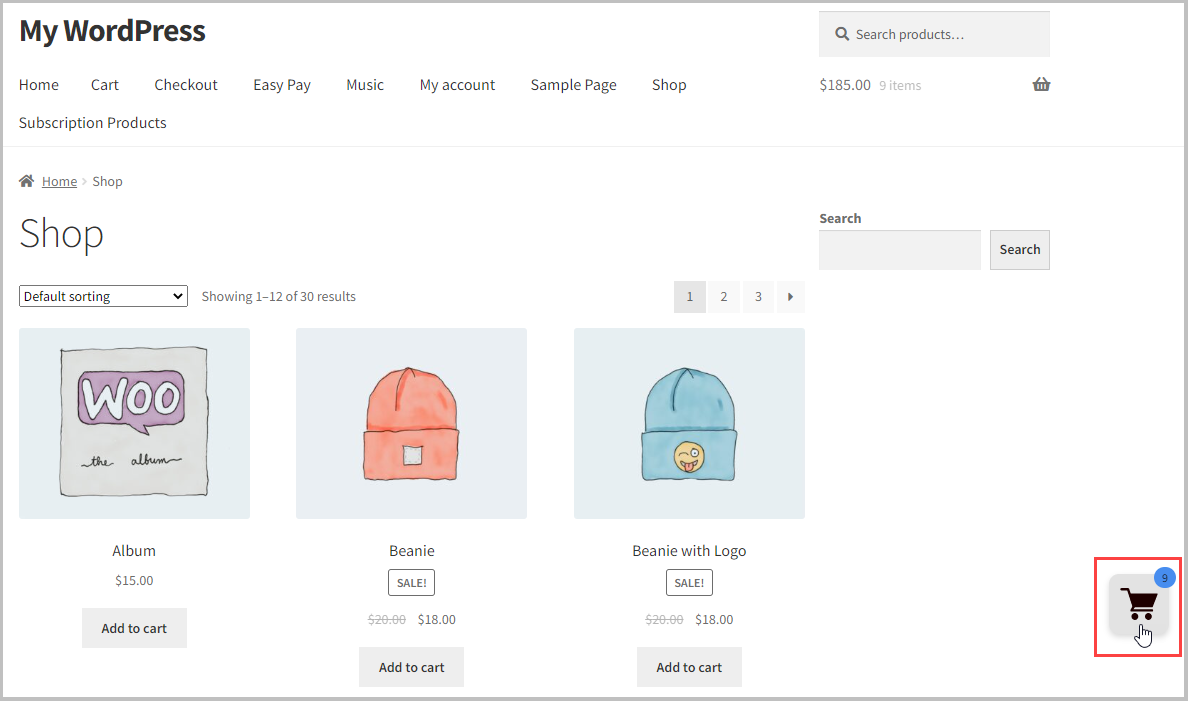
- Click on the cart icon at the screen’s bottom right side.
- The cart will slide open from the right side.
Popup Layout
↑ Back to top- Go to the shop.
- Add a product to the cart.
- Click on the cart icon at the screen’s bottom right side.
- The instant cart will pop up.

Allow Fast Checkout
↑ Back to top
- The users can checkout directly from the instant popup and sliding panel.
- To enable Allow Fast Checkout, go to General Settings.
- Scroll down to the Allow Fast Checkout.
- Click on Enable.
After enabling the Allow Fast Checkout,.click on the save changes button.

Direct Checkout
↑ Back to top- Enabling Allow fast checkout will add a Direct checkout option.
- Direct checkout allows the user to skip the cart section and takes the user directly to the checkout section in an instant sliding and popup.
- To enable Direct checkout, select Enable from the Direct checkout option.

- Click on the Save Changes button.
Front-End Impact
Fast Checkout
- Go to the shop.
- Add a product to the cart.
- Click on the cart icon at the screen’s bottom right side.
- Click on the Checkout button.
- The checkout page will be opened in the sliding or popup layout.
Sliding Layout
Popup Layout
Direct Checkout
- Go to the shop.
- Add a product to the cart.
- Click on the cart icon at the screen’s bottom right side.
- The checkout page will be opened in the sliding or popup layout.
Sliding Layout
Popup Layout
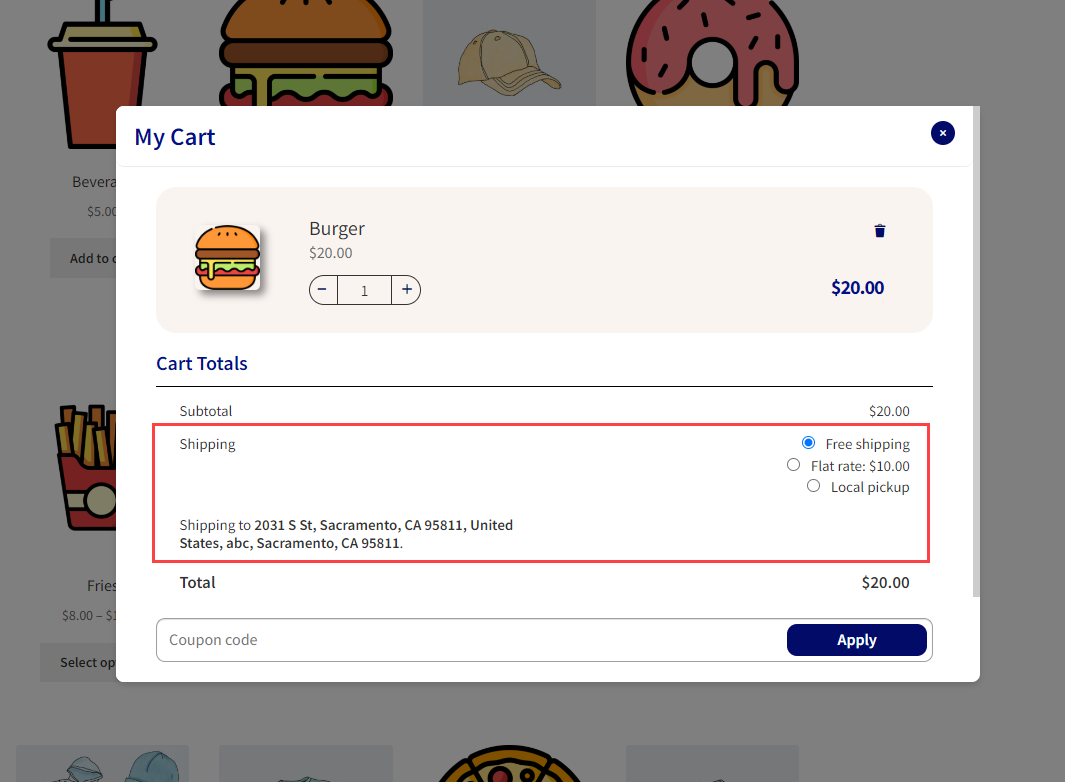
Shipping Details
↑ Back to top
- Users can see and select the shipping details from the cart.
- Go to the Shipping Details option in the General Settings to enable shipping details in the cart.
- Click on the Enable option in Shipping Details.

- Click on the Save Changes button.
Front-End Impact
- Go to the shop.
- Add a product to the cart.
- Click on the cart icon button at the screen’s bottom right side.
- The instant cart will open.
- Shipping details will be displayed in this panel.
Quick View Variable Products
↑ Back to top
- The user can add the variation of a variable product directly from the shop page without redirecting to the product page.
- Go to the Quick View Variable Product in the General Settings.
- Click on the Enable option in Quick View Variable Products.

Click on the Save Changes button.
Front-End Impact
- Go to the shop.
- Select options button will be available for the variable product.
- Click on the Select options.
- Select the variation from the drop-down menu.
- Click on the Add to Cart button.
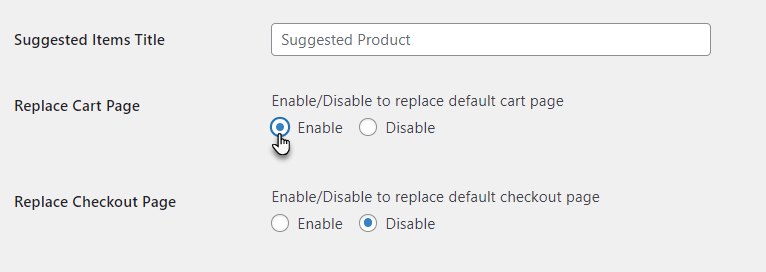
Replace Cart Page
↑ Back to top
- The admin can change the cart page with the instant cart. Whenever the user clicks the cart link, the instant cart will either pop up or sliding will open instead of the default WooCommerce cart page.
- Go to the Replace Cart Page option in General Settings to enable the replacement cart.
- Click on the Enable option on the Replace Cart Page.
- Click on the Save Changes button.
Front-End Impact
- Go to the shop.
- Add a product to the cart.
- Click on the Cart button.
- The instant cart will open.
- If the cart page is empty.
Replace Checkout Page
↑ Back to top
- The admin can change the checkout page with instant checkout. Whenever the user clicks the checkout link, the instant checkout either popup or sliding, will open instead of the default WooCommerce checkout page.
- Go to the Replace Checkout Page in General Settings to enable the replacement checkout.
- Click on the Enable option on the Replace Checkout Page.
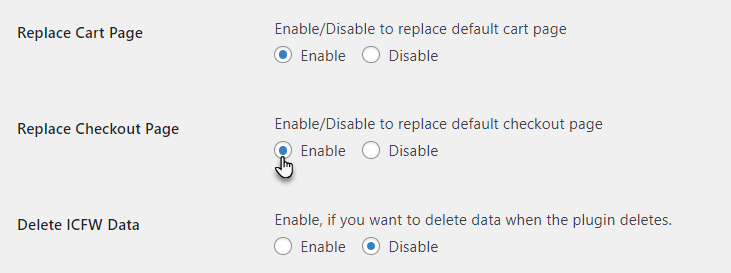
- Click on the Save Changes button.
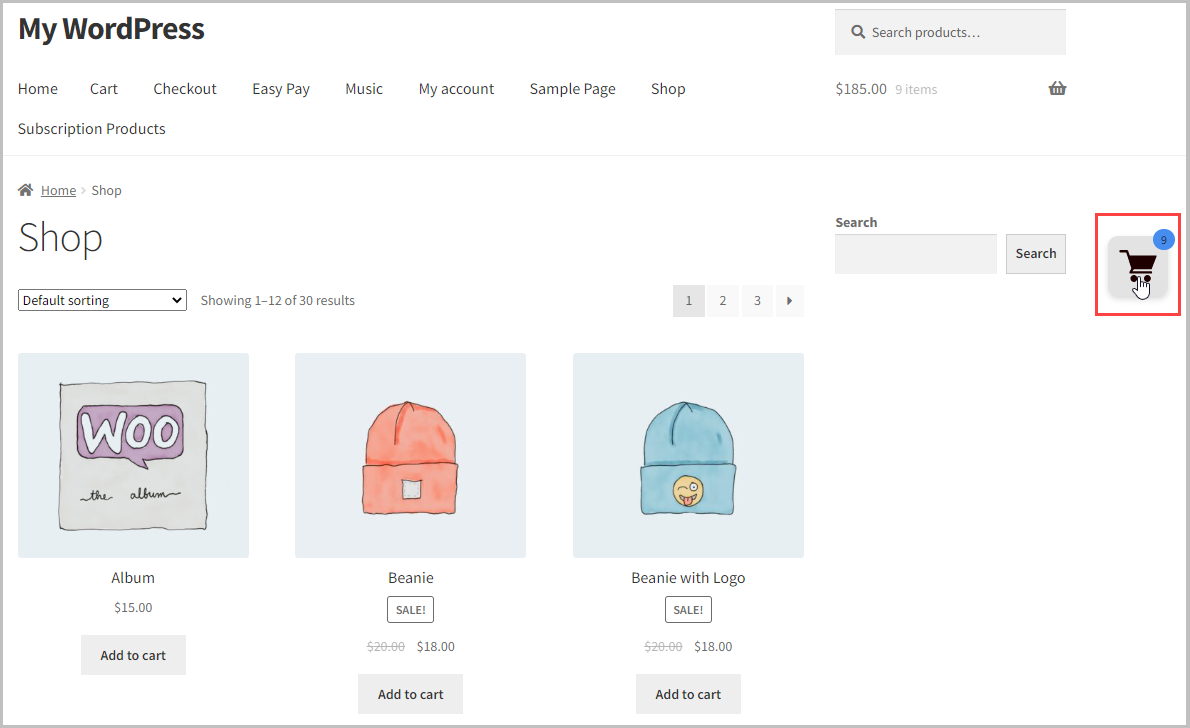
Front-End Impact
- Go to the shop.
- Add a product to the cart.
- Click on the checkout button.
- The Instant checkout will open.
- If your cart is empty, then it will open the cart page.
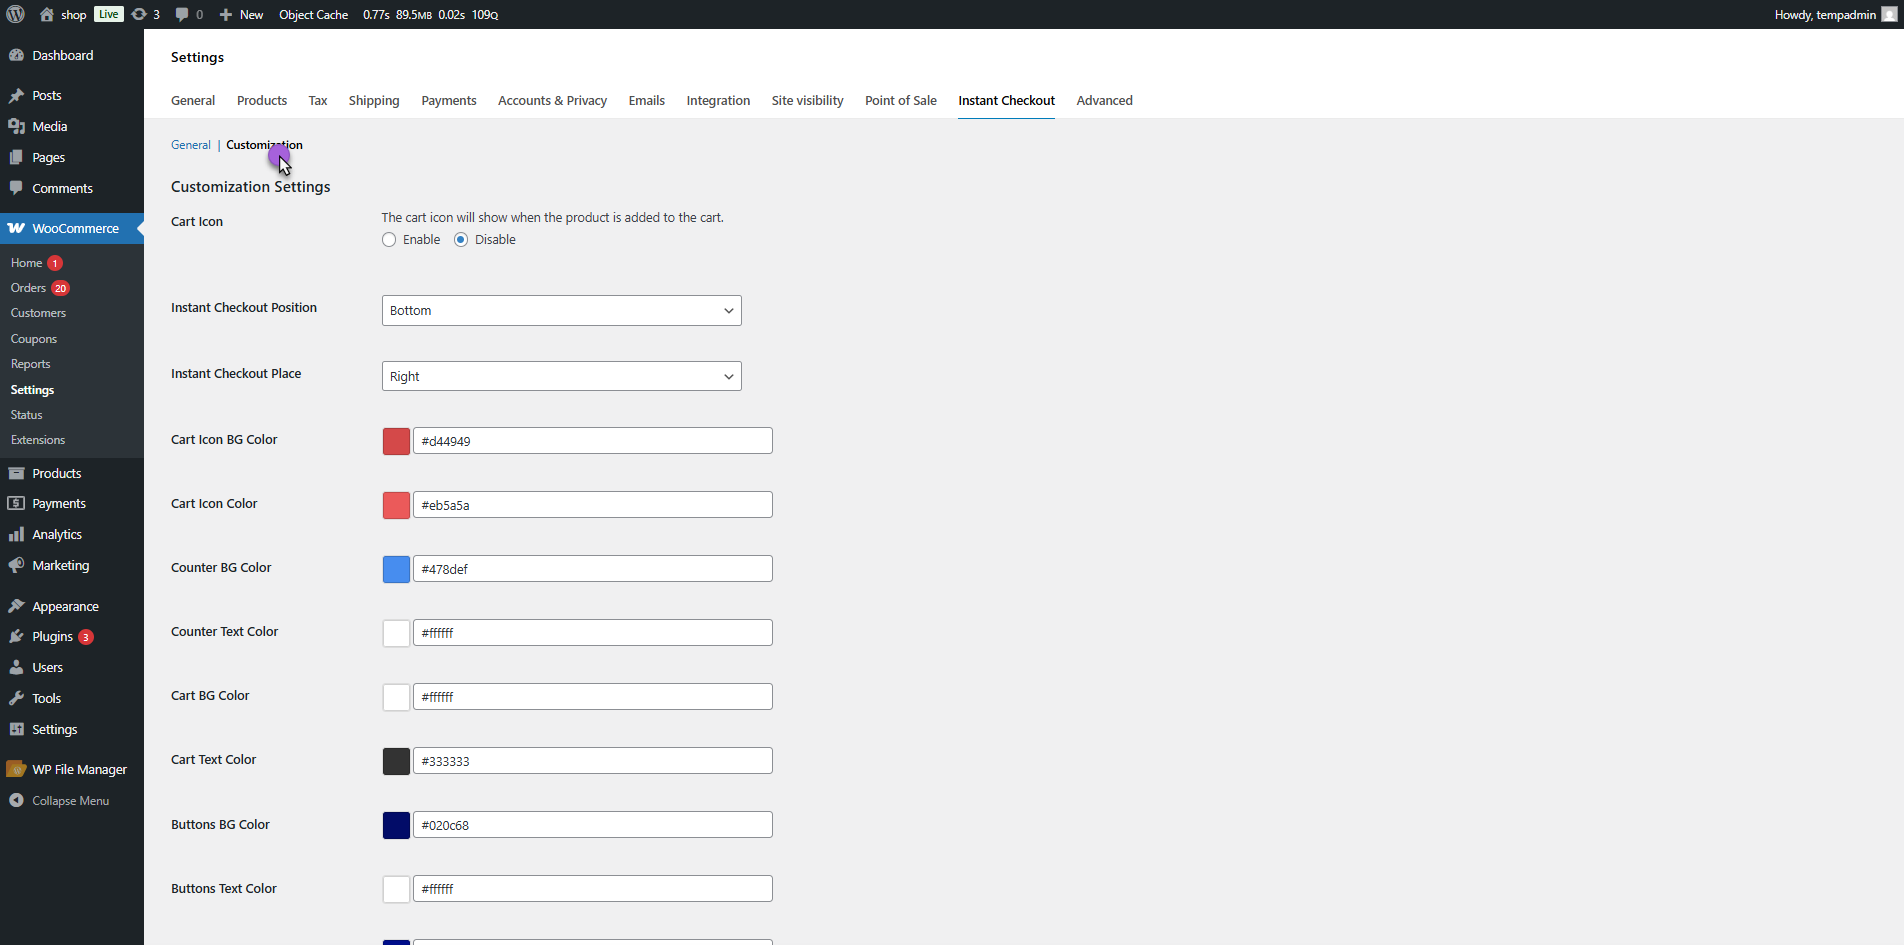
Customization Settings
↑ Back to top
Within the Customization tab, the user can customize the following cart settings:
- Select the instant checkout cart’s position on the website (top, middle, or bottom).
- Customize the checkout cart icon’s background color.
- Customize the checkout cart icon’s color.
- Customize the quantity counter’s text color.
- Customize the checkout cart’s background color.
- Customize the checkout cart’s text color.
- Customize the checkout button’s background color.
- Customize the checkout button’s text color.
Cart Icon
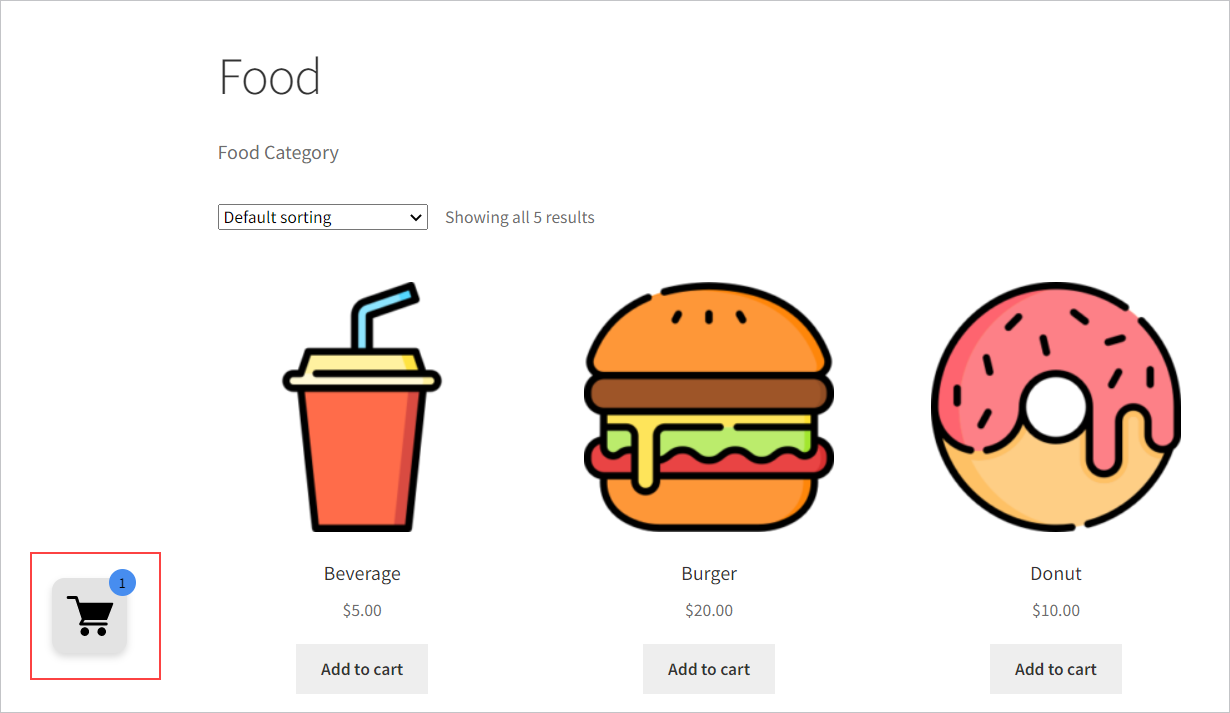
↑ Back to top- The admin can change the cart icon visibility to on product added. This will show the cart icon only when the product is added to the cart. When the cart is empty, the cart icon will not be displayed.
- To enable this option, navigate to the Customization tab in Instant Checkout.
- Go to Cart Icon and click on the Enable option.
- Click on the Save Changes button.
Front-End Impact
- Before adding a product, there will be no cart icon.
- When we add the product, it will show the cart icon.
Instant Checkout Position
↑ Back to top- The admin can change the placement of the cart icon to top, bottom, and middle.
- Navigate to the Customization tab in Instant Checkout.
- Go to the Instant Checkout Position option.
- Select the placement position from the drop-down menu.
Click on the Save Changes button.
Front-End Impact
Top Aligned

Middle Aligned
Bottom Aligned
Instant Checkout Phase
↑ Back to top- The admin can change the placement of the cart icon from left to right.
- Navigate to the Customization tab in Instant Checkout.
- Go to the Instant Checkout Place option.
- Select the placement position from the drop-down menu.

Click on the Save Changes button.
Front-End Impact
- Right Aligned

- Left Aligned
Popup Customization
↑ Back to top- The admin can customize the color of the instant popup.
- To customize the instant cart button, navigate to the Customization tab in the Instant Checkout.
- Go to the Cart Icon BG Color, this will change the background color of the instant cart button.
- Click on the color input box, and a color palette will appear.
- Choose the color from the color palette.
- Next, if the admin wants to change the icon’s color, go to the Cart Icon Color.
- To change the counter background color, go to the Counter BG Color.
- To change the counter text color, go to the Counter Text Color.

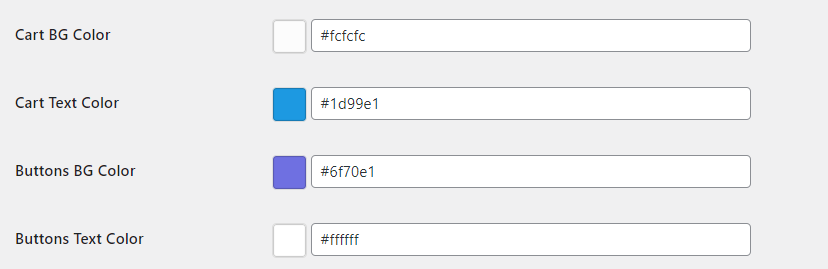
- To change the background color of the cart, go to the Cart BG Color.
- To change the text color of the cart, go to the Cart Text Color.
- To change the button’s color, go to the Buttons BG Color.
- To change the button’s text color, go to the Buttons Text Color.
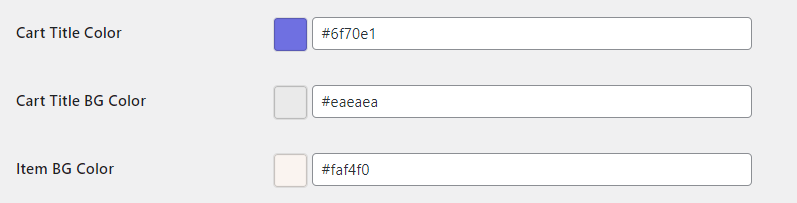
- To change the title color of the cart, go to the Cart Title Color.
- To change the background color of the title of the cart, go to the Cart Title BG Color.
- To change the background color of the item cards, go to the Item BG Color.
- Click on the Save Changes button.
Front-End Impact
- Instant Cart Button Before
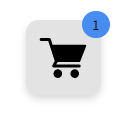
- Instant Cart Button After

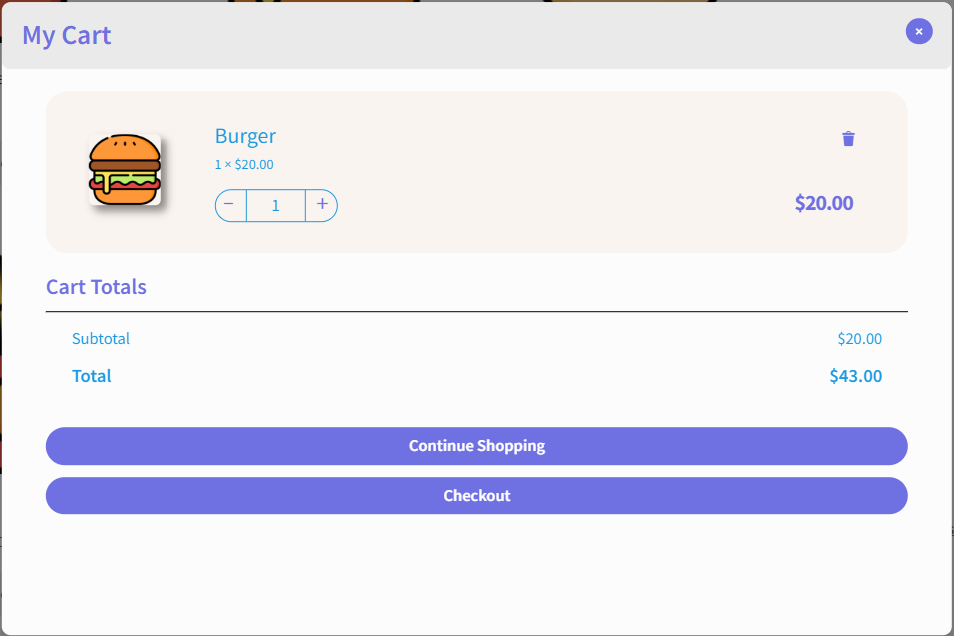
- Cart Before
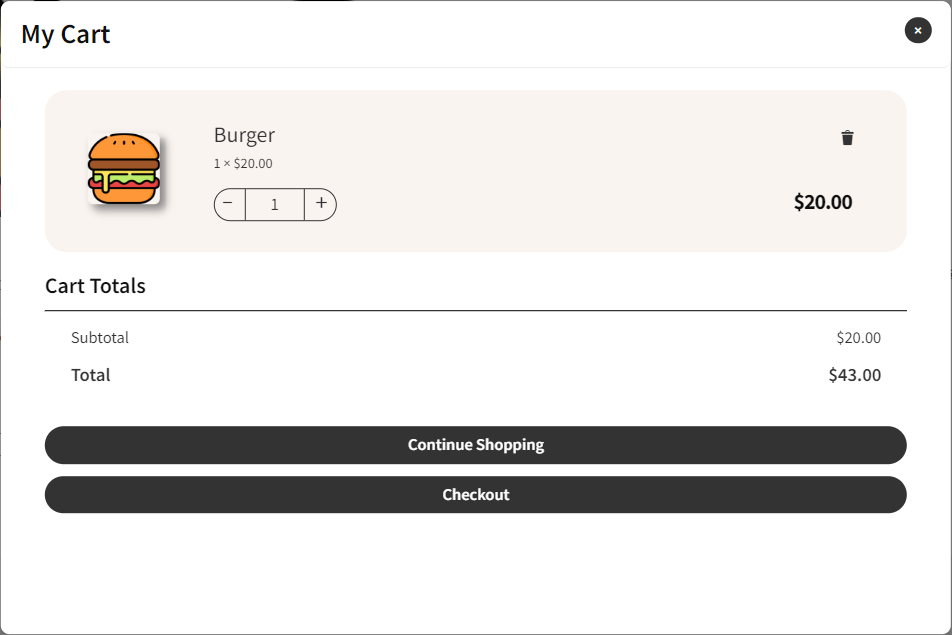
- Cart After
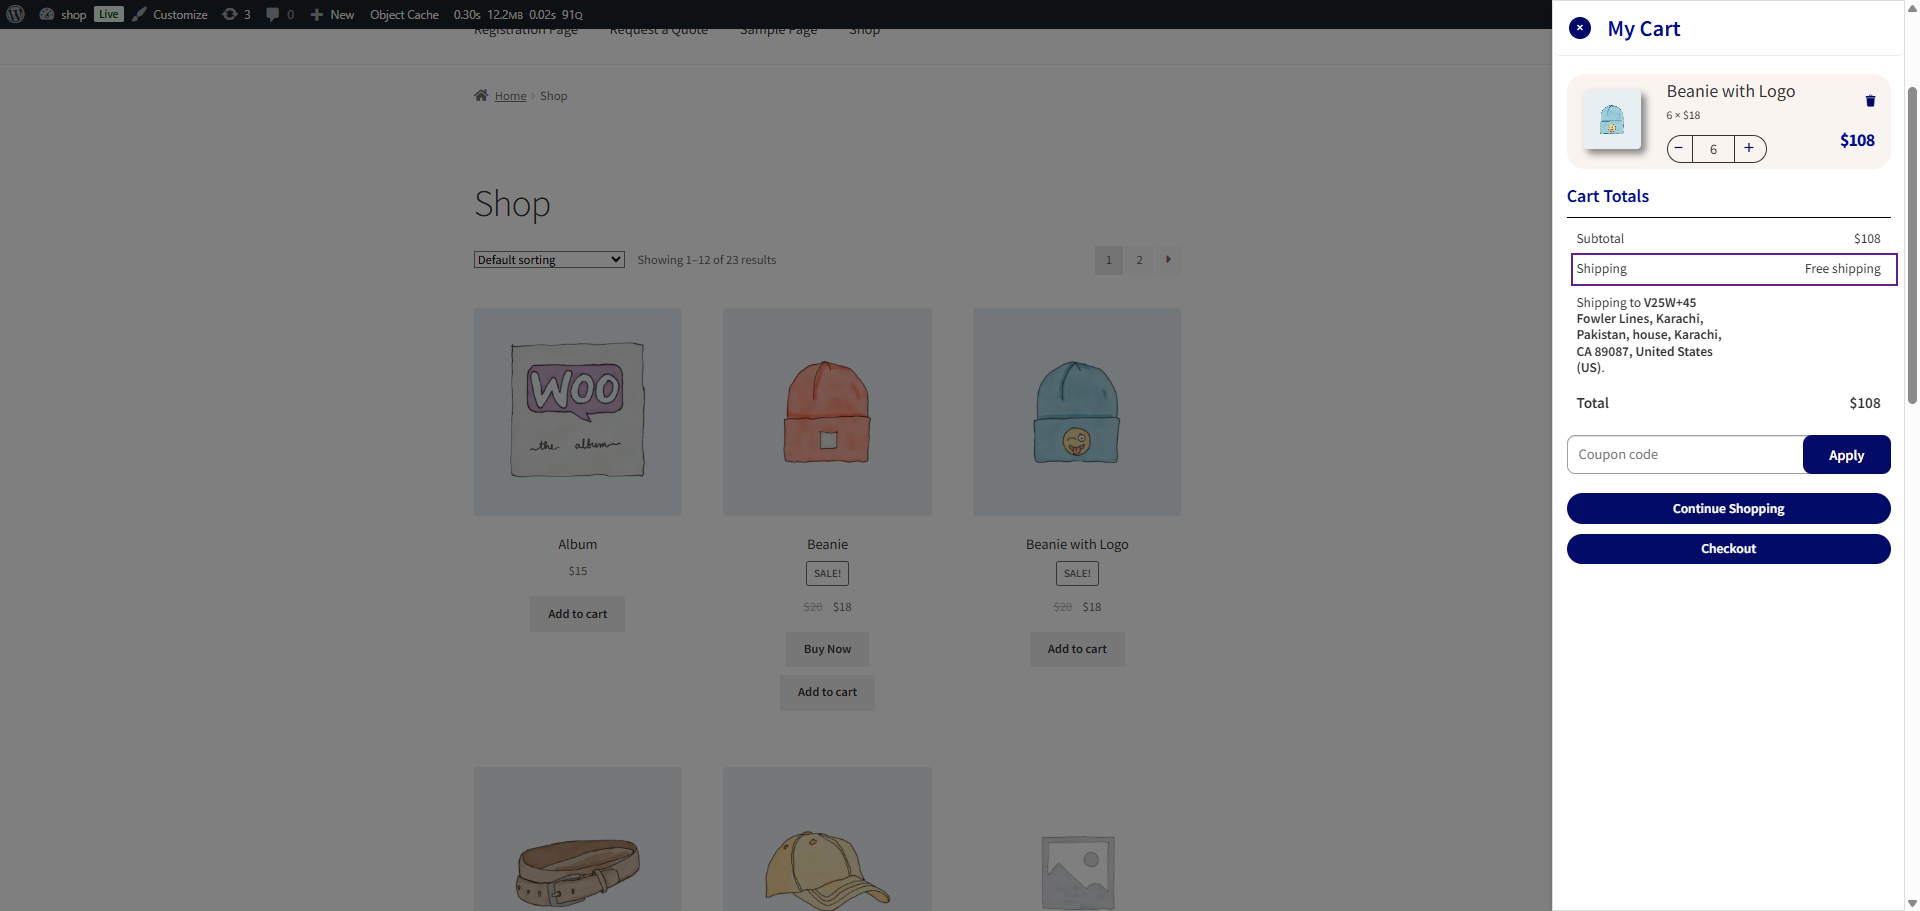
Free Shipping
↑ Back to topThis feature displays a Free Shipping progress bar inside the Mini Cart, encouraging customers to add more items by showing how close they are to unlocking free shipping. You can also add a custom label using dynamic tags, such as {amount}, to display the remaining amount needed.
Configure Free Shipping Method
- Go to your WordPress Admin Dashboard
- Navigate to: WooCommerce → Settings → Shipping
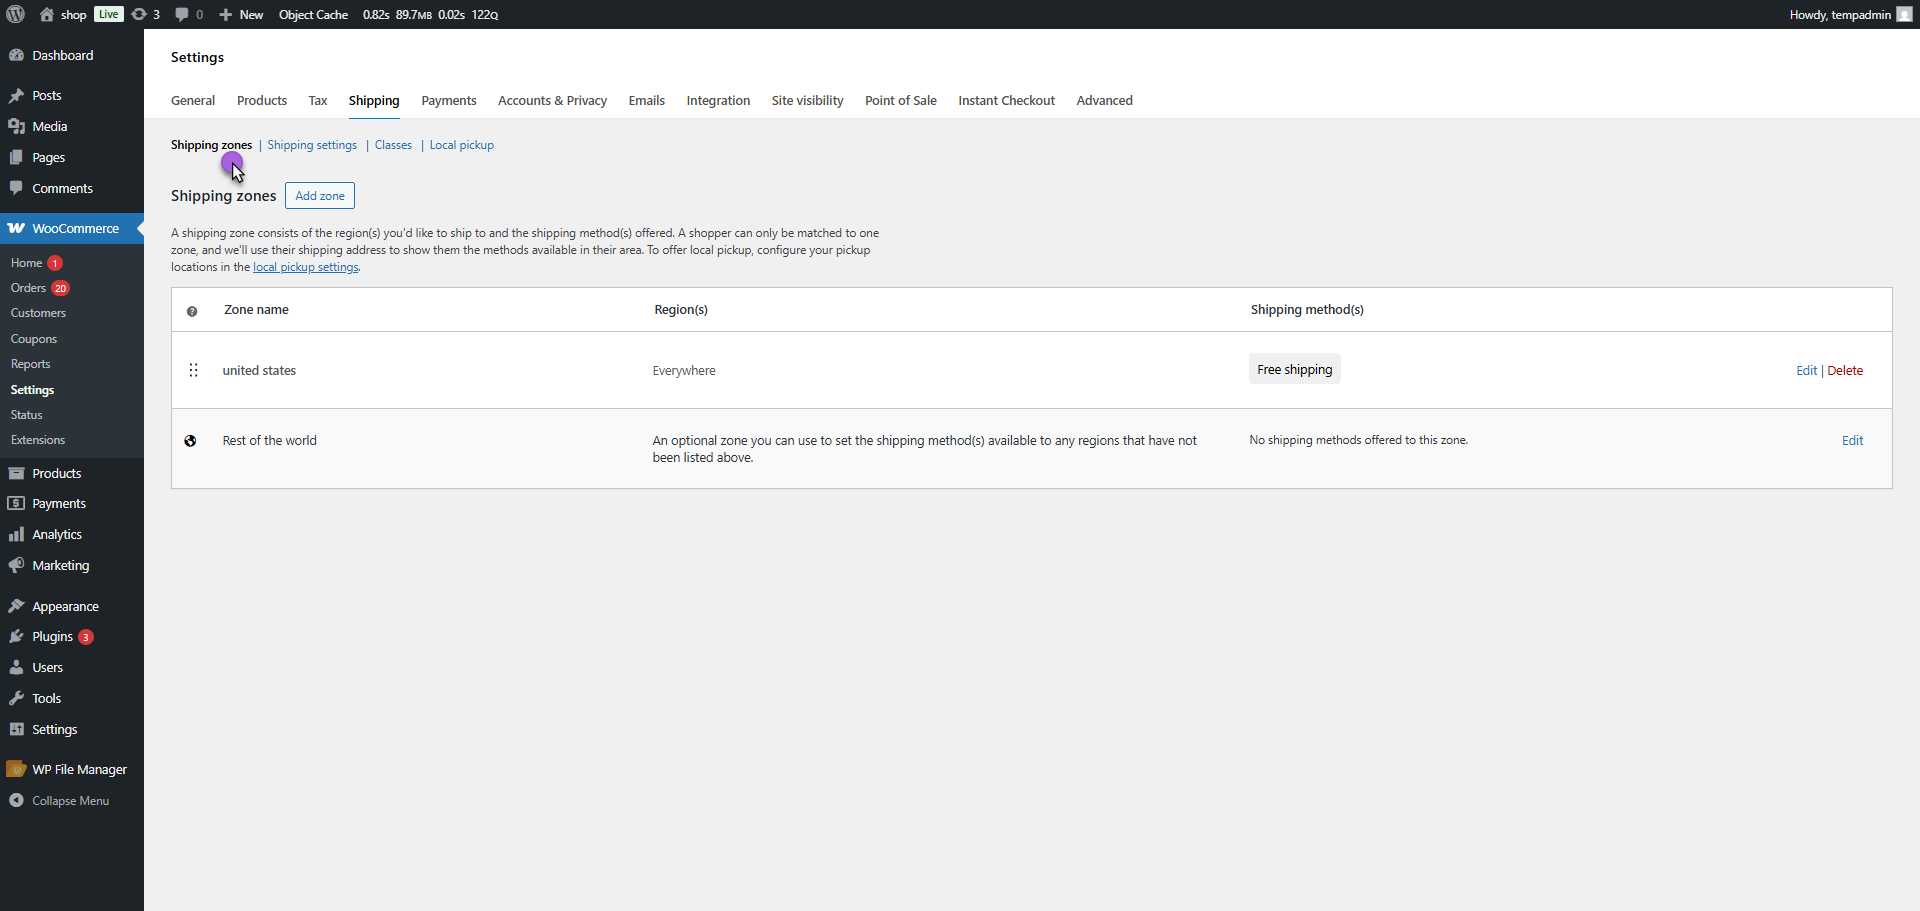
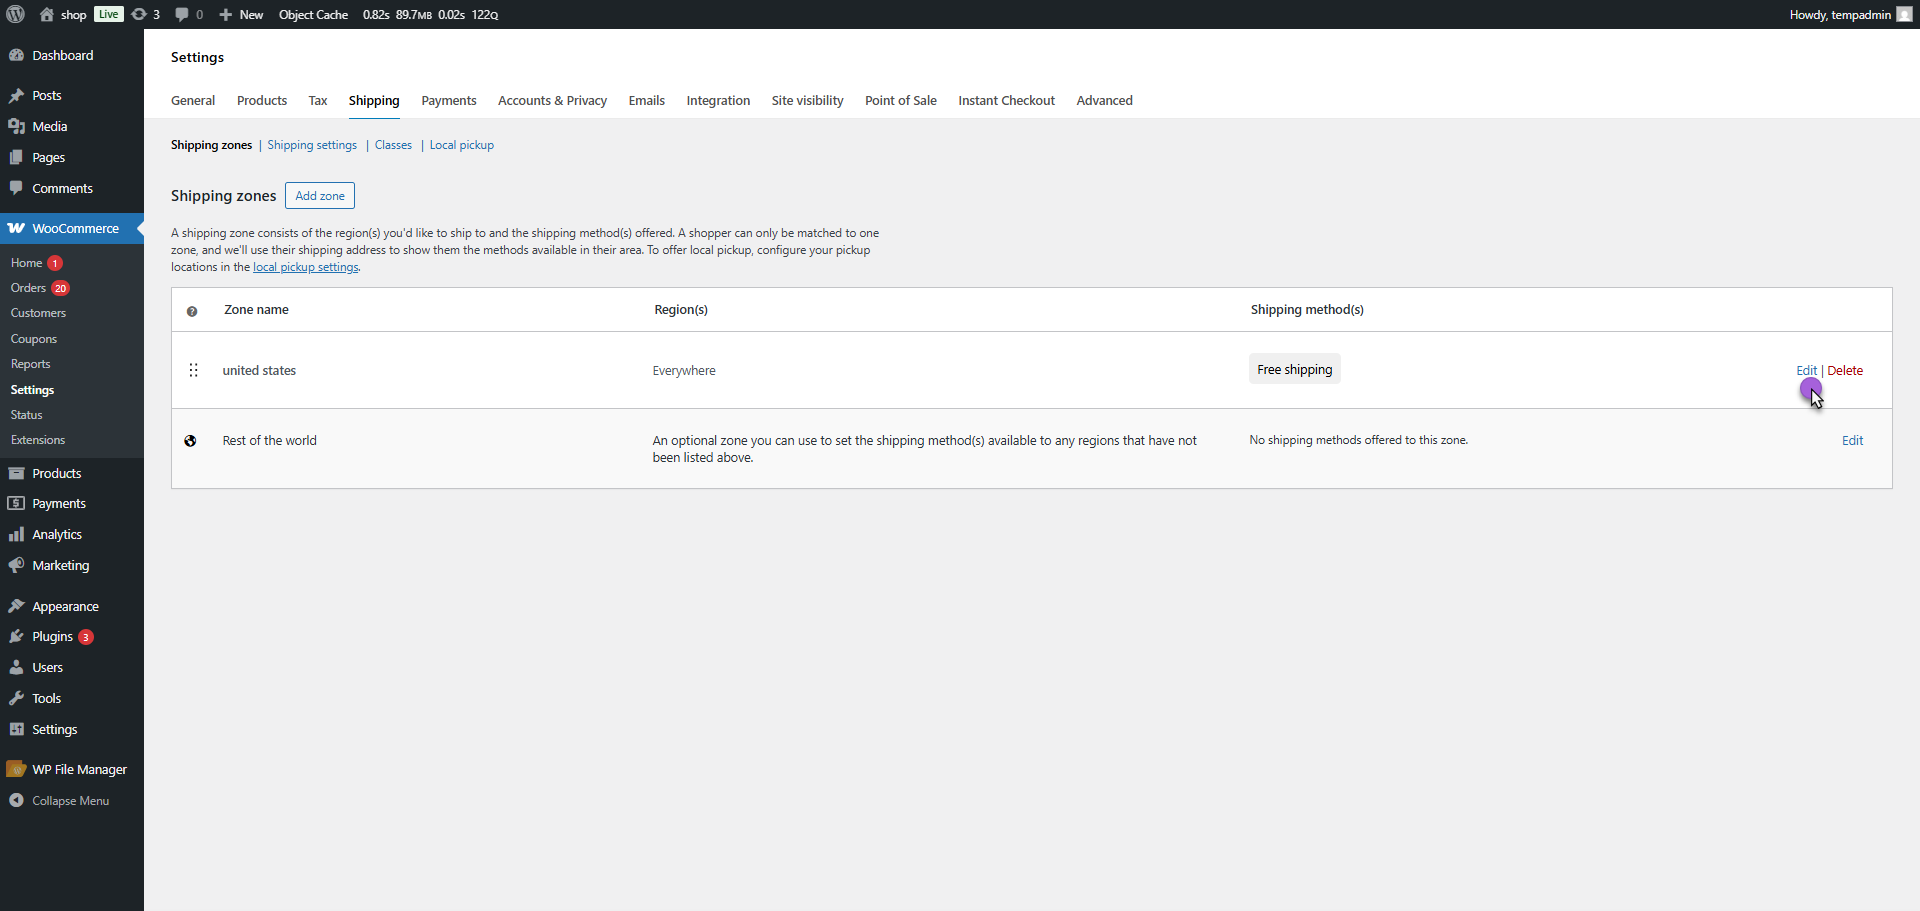
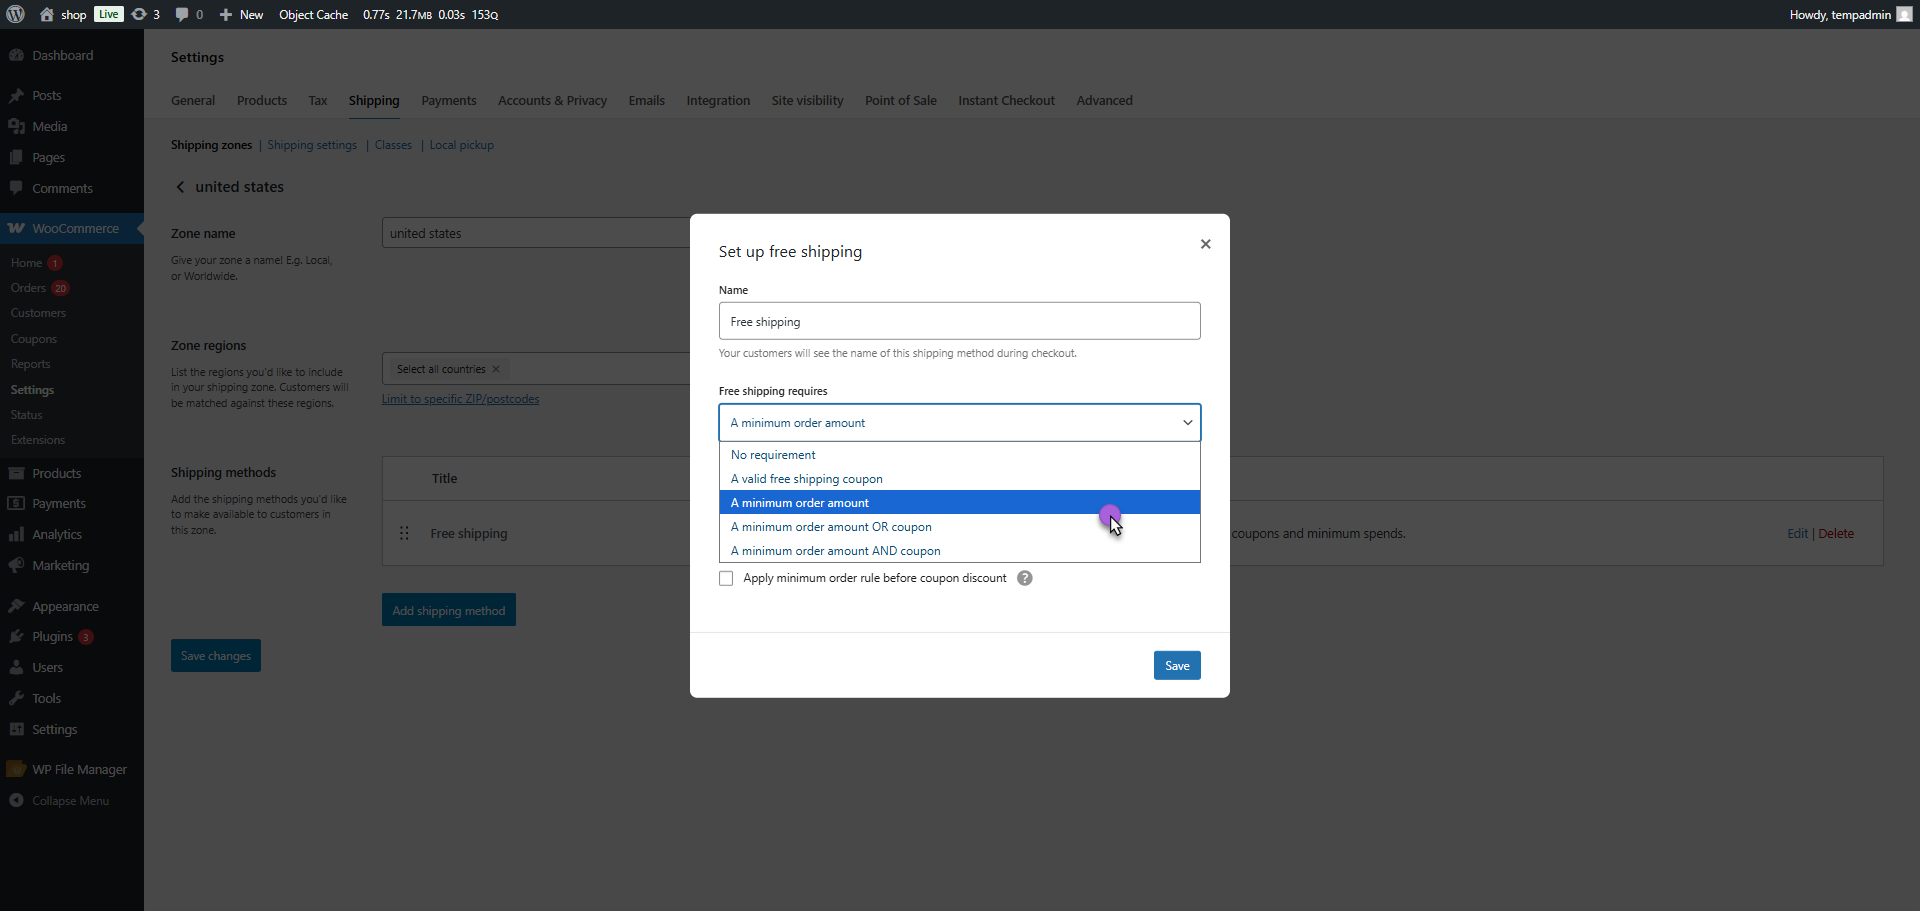
- Select the relevant Shipping Zone, then click Edit under Shipping Methods.
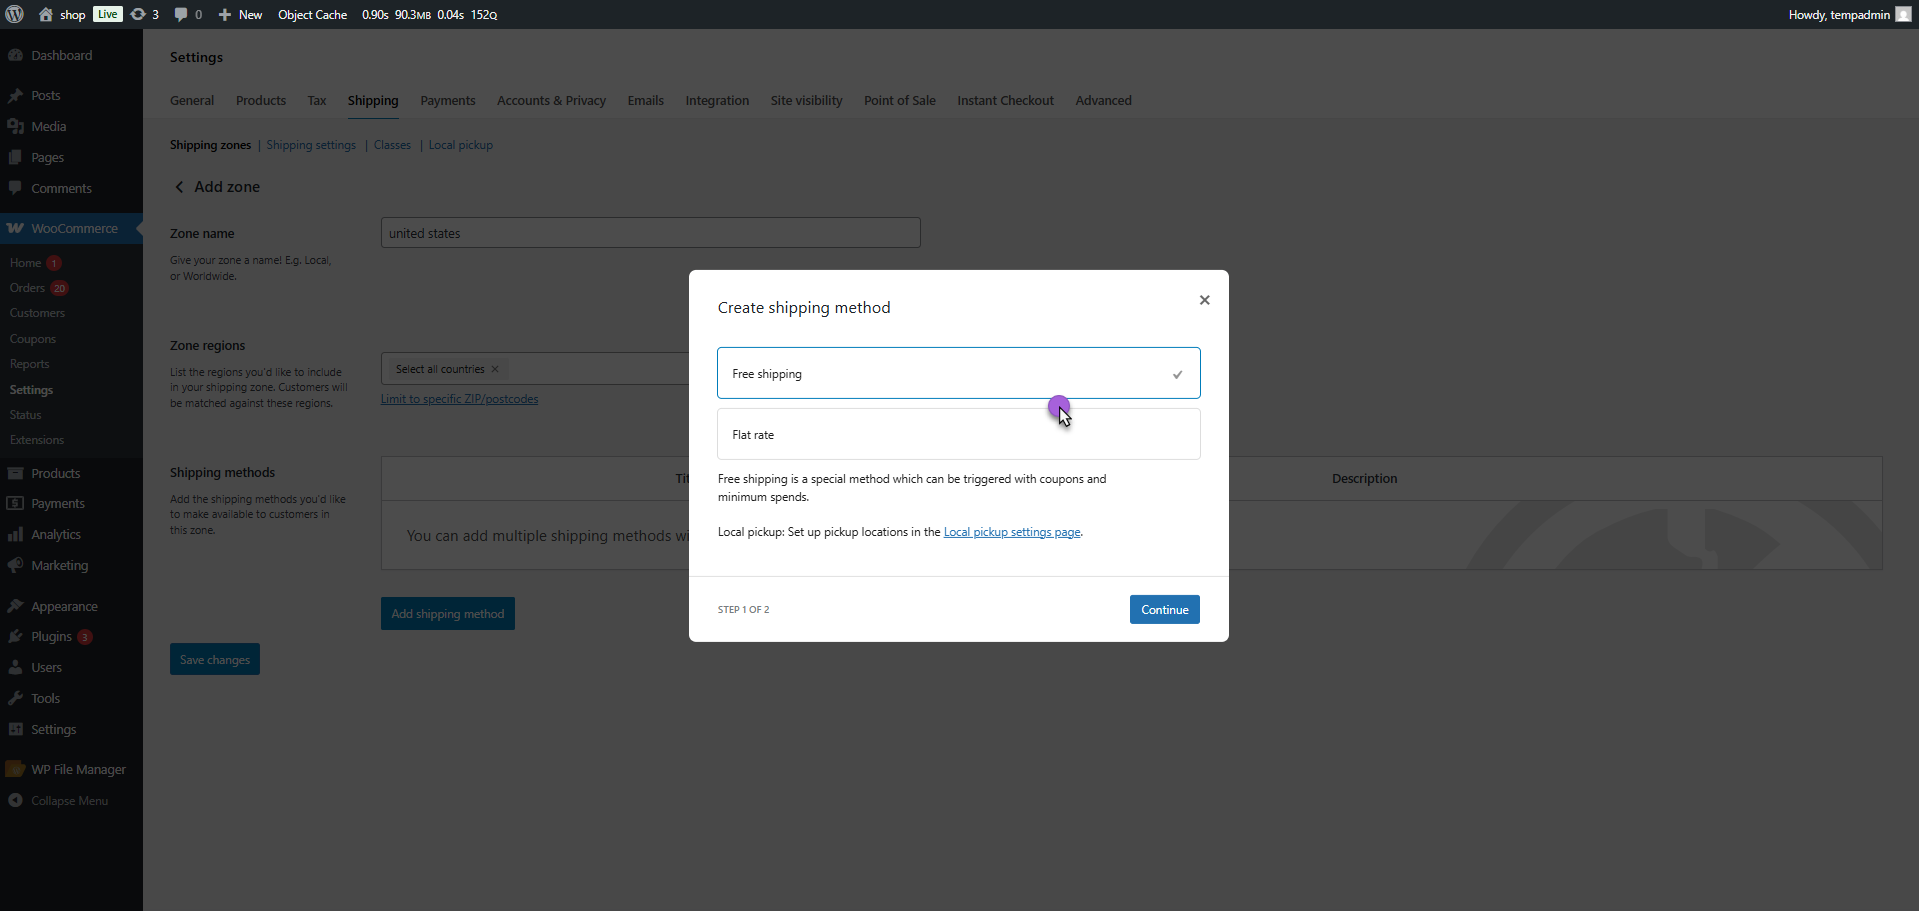
- Click Edit next to Free Shipping.
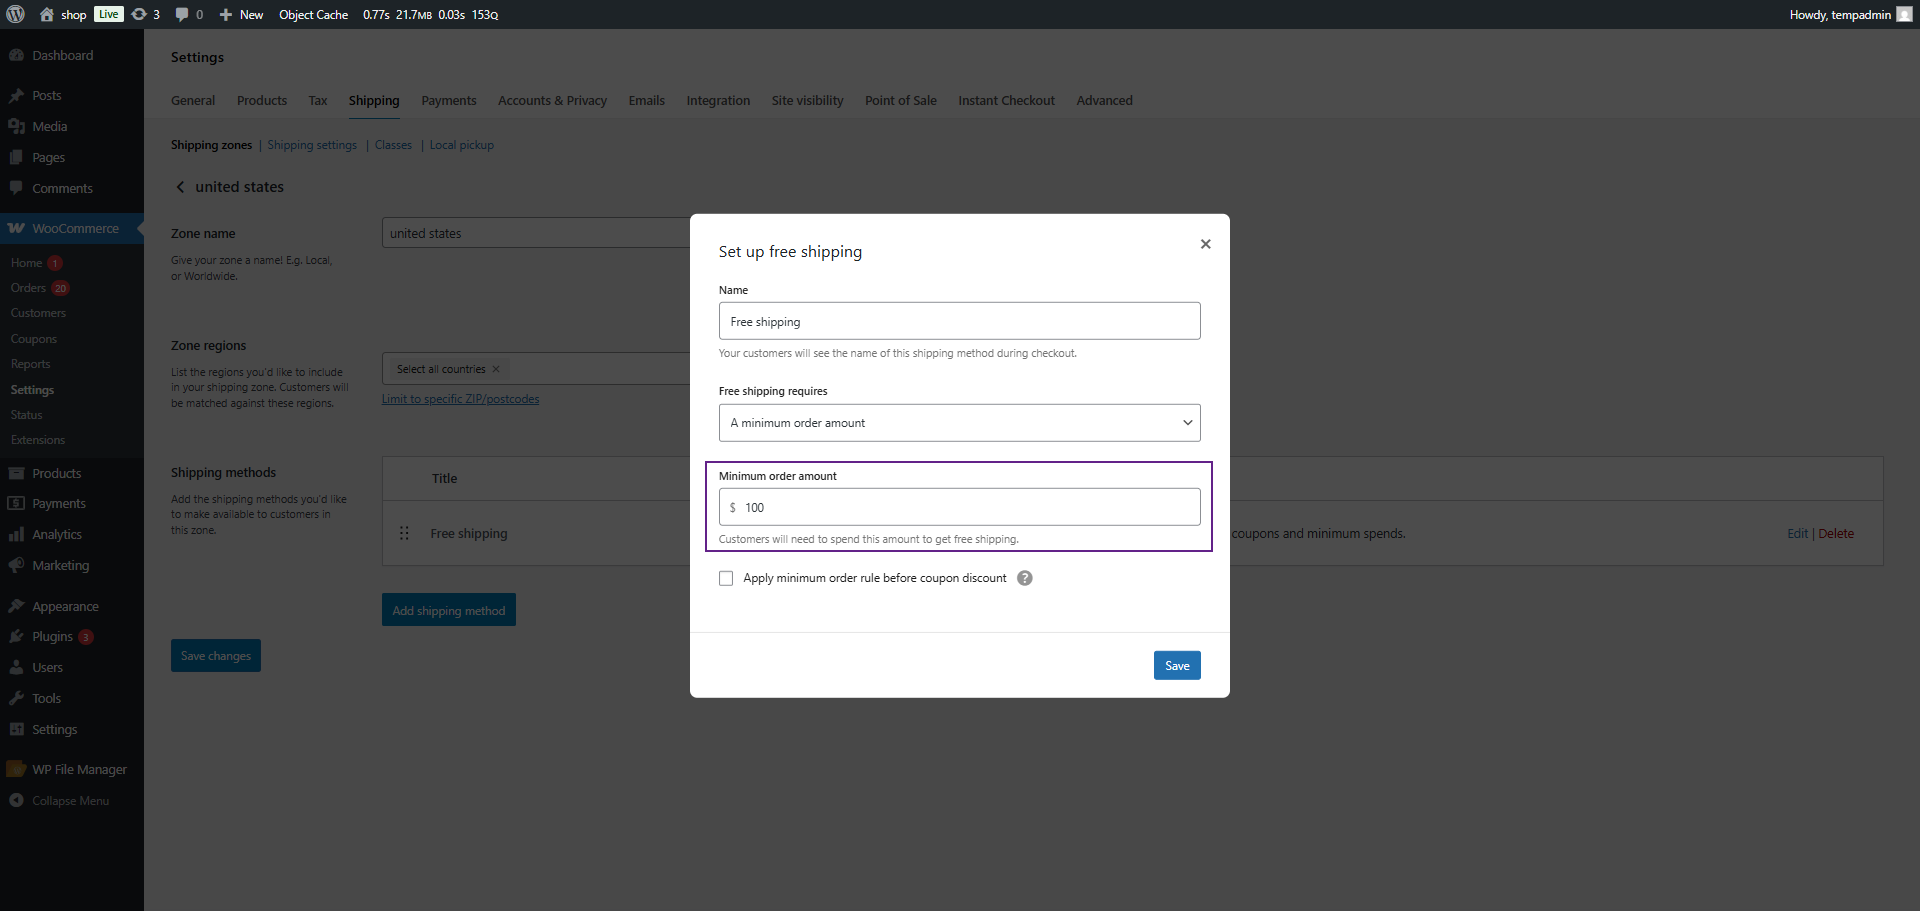
- In the Free Shipping Requires dropdown, select: A minimum order amount
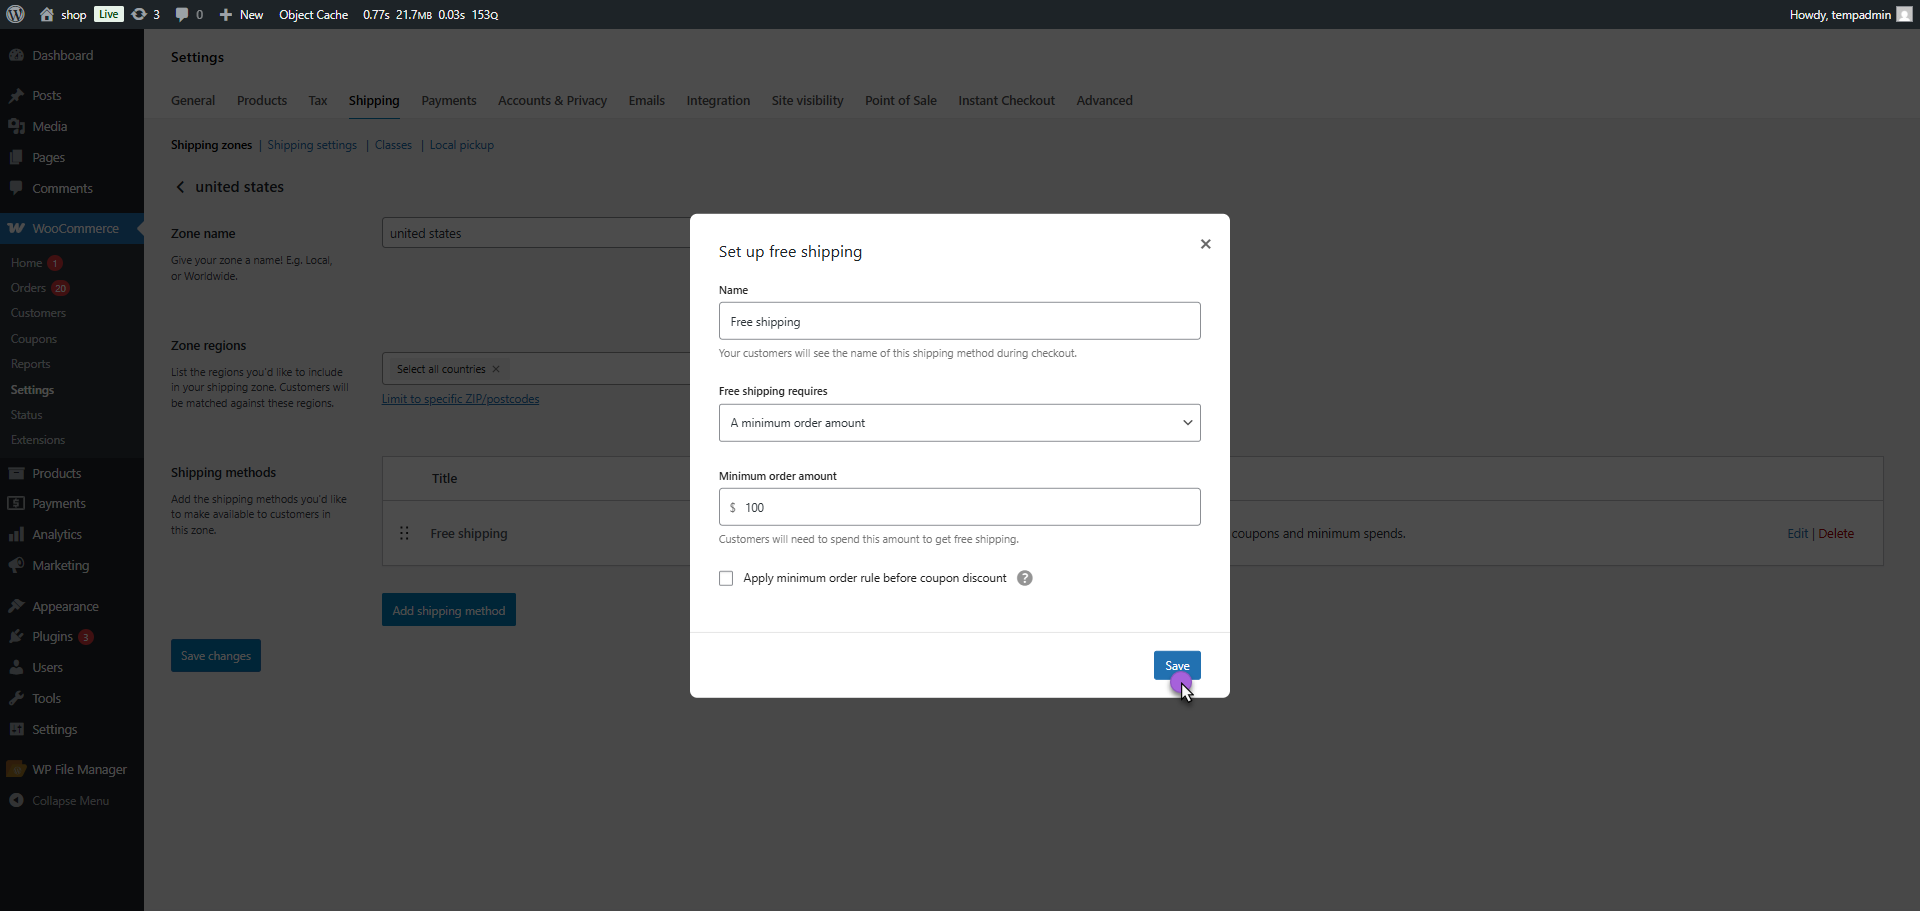
- Enter the required minimum amount (e.g., 100).
- Click the Save Changes button.
Enable Free Shipping Bar in Mini Cart
- Navigate to: WooCommerce → Settings → Instant Checkout → Customization
- Locate the Enable Free Shipping option and select the Radio.
- In the Custom Text field, enter your custom message. You can use the {amount} tag to show the remaining amount required for free shipping dynamically.
Example: Spend {amount} more to get Free Shipping!
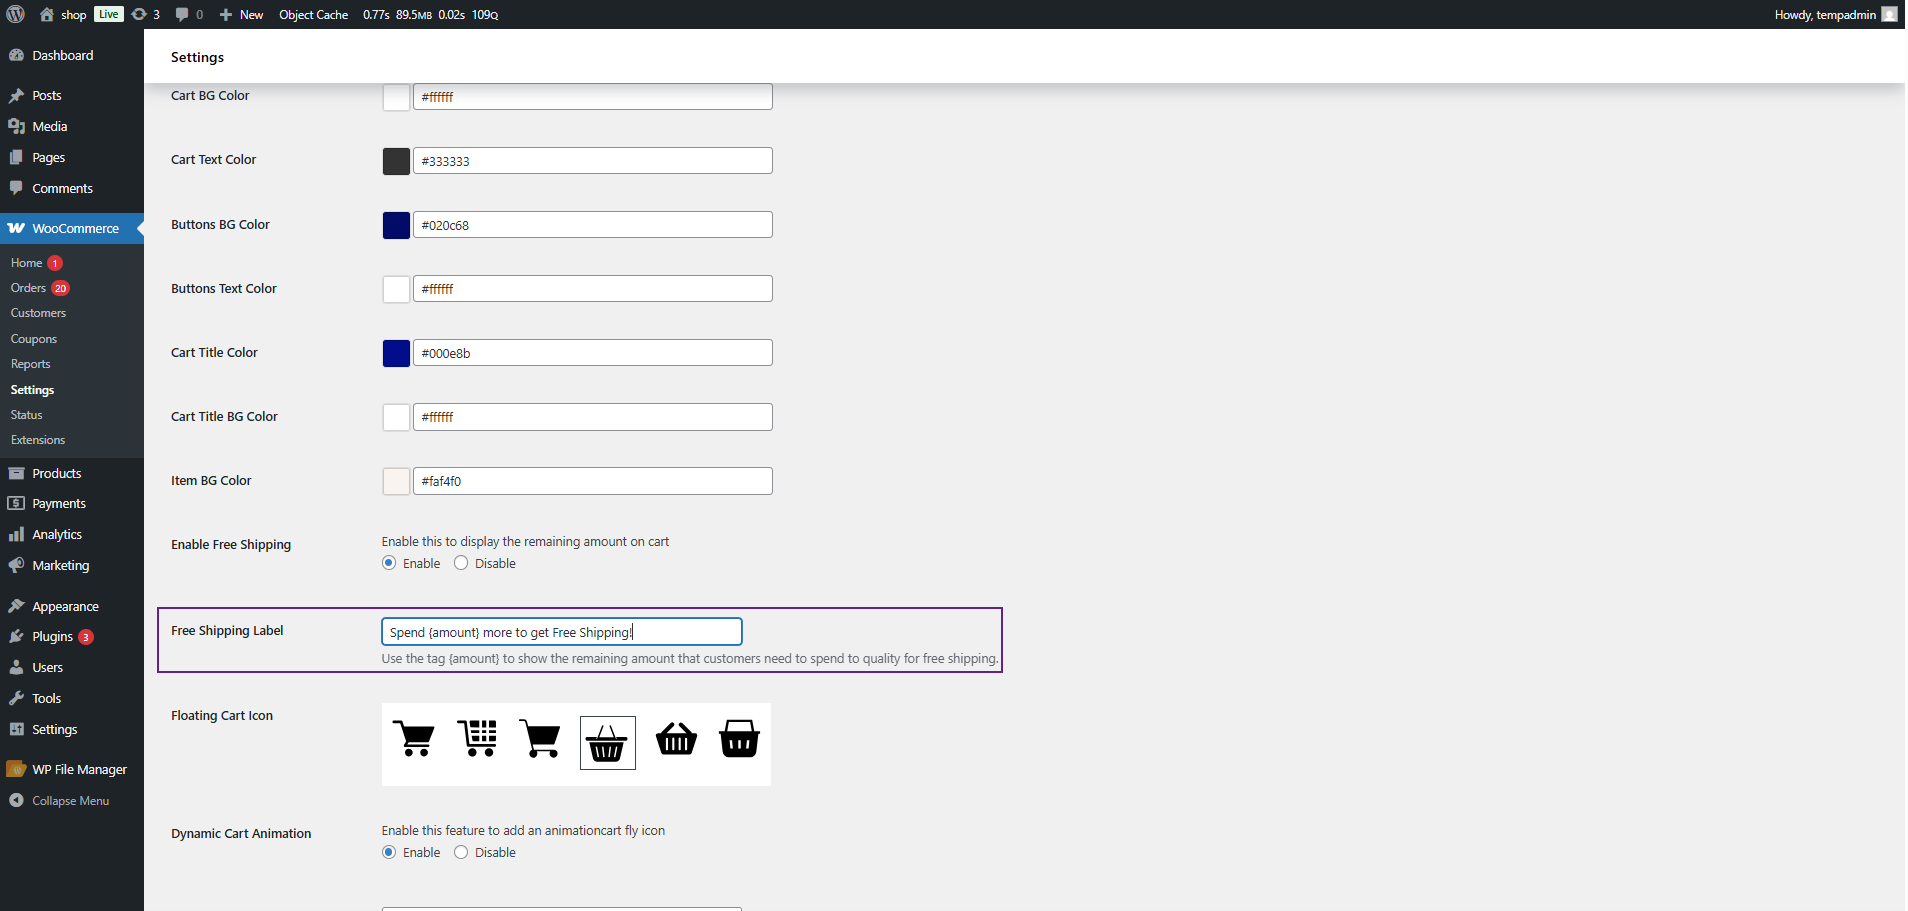
- Click the Save Changes button.

Front-End Impact
- Go to the shop.
- Add a product to the cart.
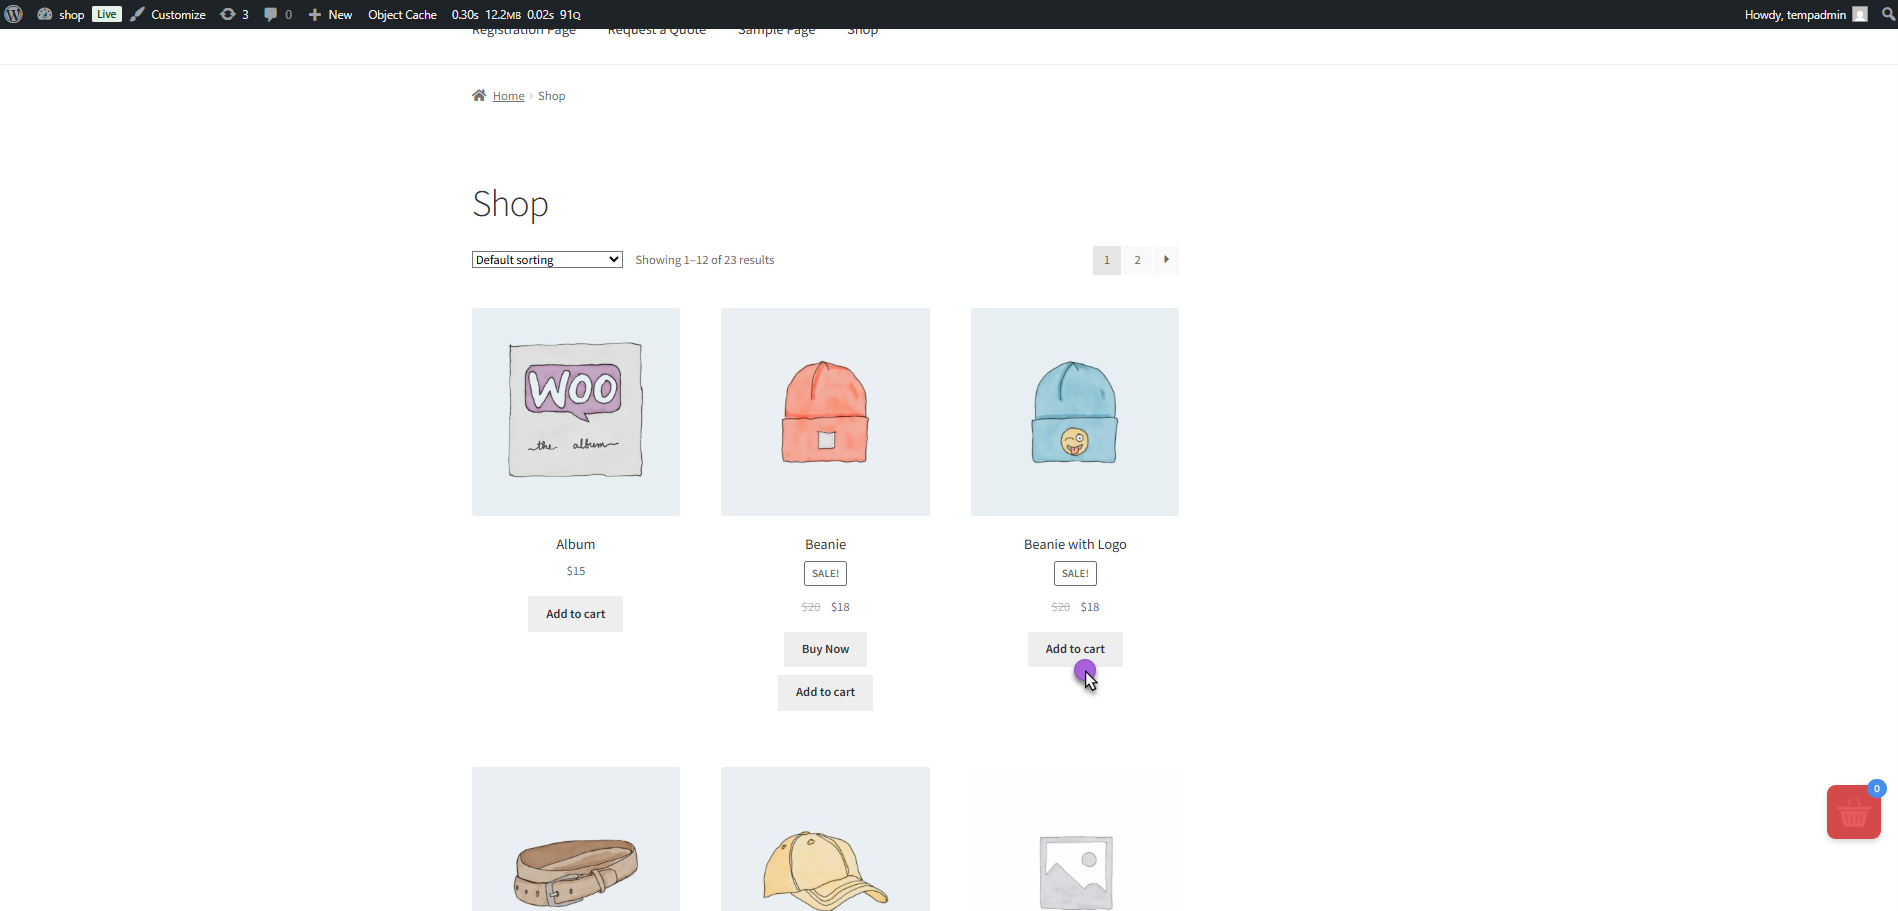
- A Free Shipping bar will appear, showing a message like: Spend $82 more to get Free Shipping! (based on your custom text and tag).
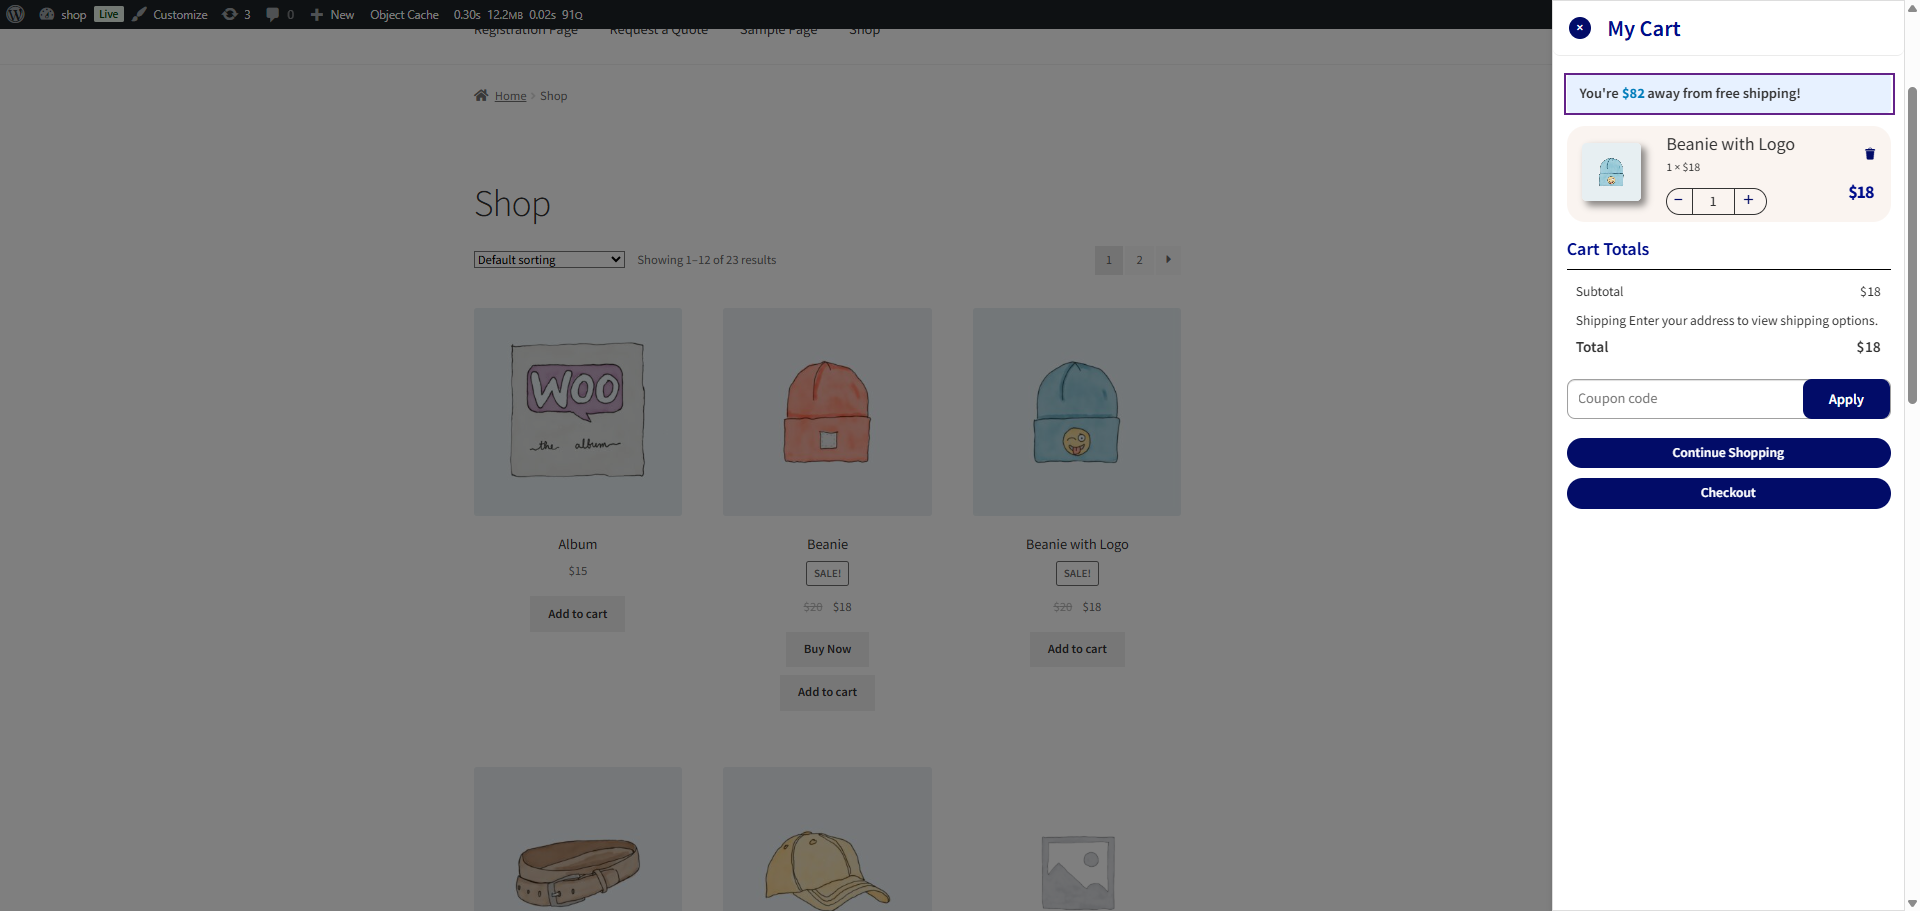
- As the cart total increases, the message updates dynamically.
Cart Icon Style
↑ Back to top- The admin can change the icon style of the floating cart button and select the icons from the predefined icon styles.
- To change the icon, navigate to the Customization tab in the Instant Checkout.
- Go to the Floating Cart Icon.
- Select the icon style from the list of predefined icons.
- Click on the Save Changes button.
Front-End Impact
Before
After
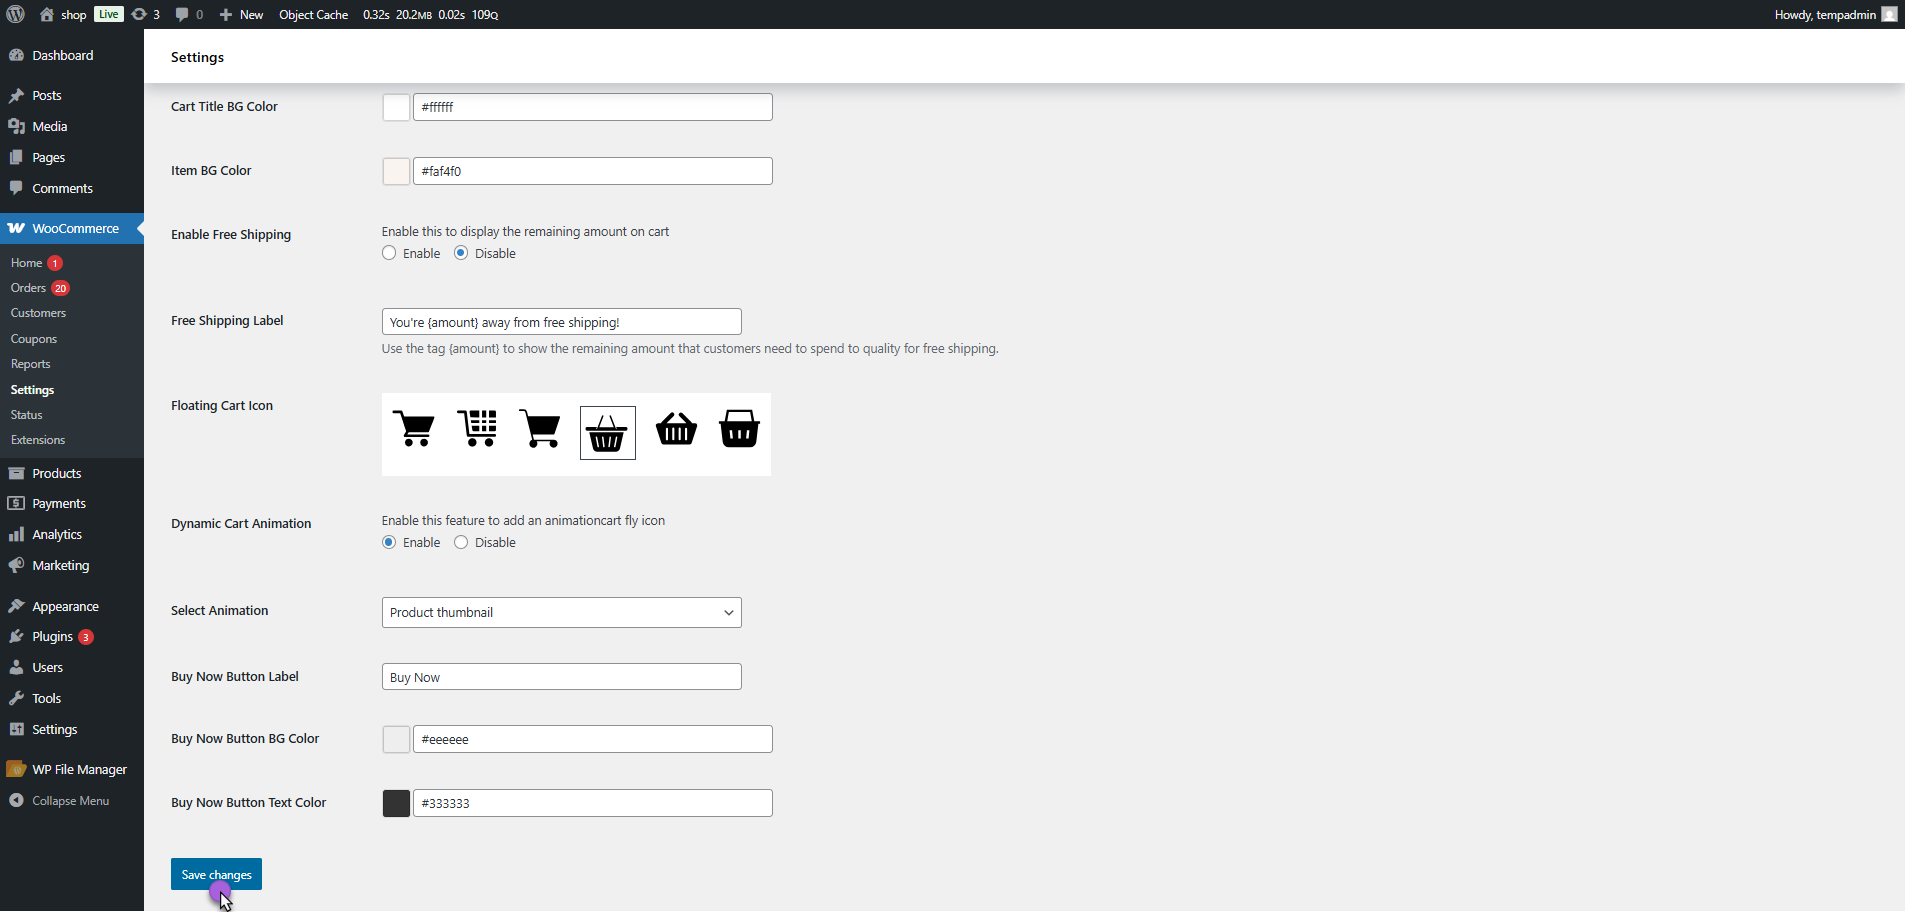
Dynamic Cart Animation
↑ Back to topThis feature adds an eye-catching animation when customers add products to their cart, enhancing the user experience with a modern, interactive feel.
- Go to your WordPress Admin Dashboard

- Navigate to: WooCommerce → Settings → Instant Checkout → Customization

- Scroll down to Dynamic Cart Animation
- Select the Radio next to Dynamic Cart Animation.

- Under Select Option, choose the desired animation type from the dropdown:
- Cart Icon Triggers an animation on the cart icon.
- Product Thumbnail Animates the product thumbnail into the cart.
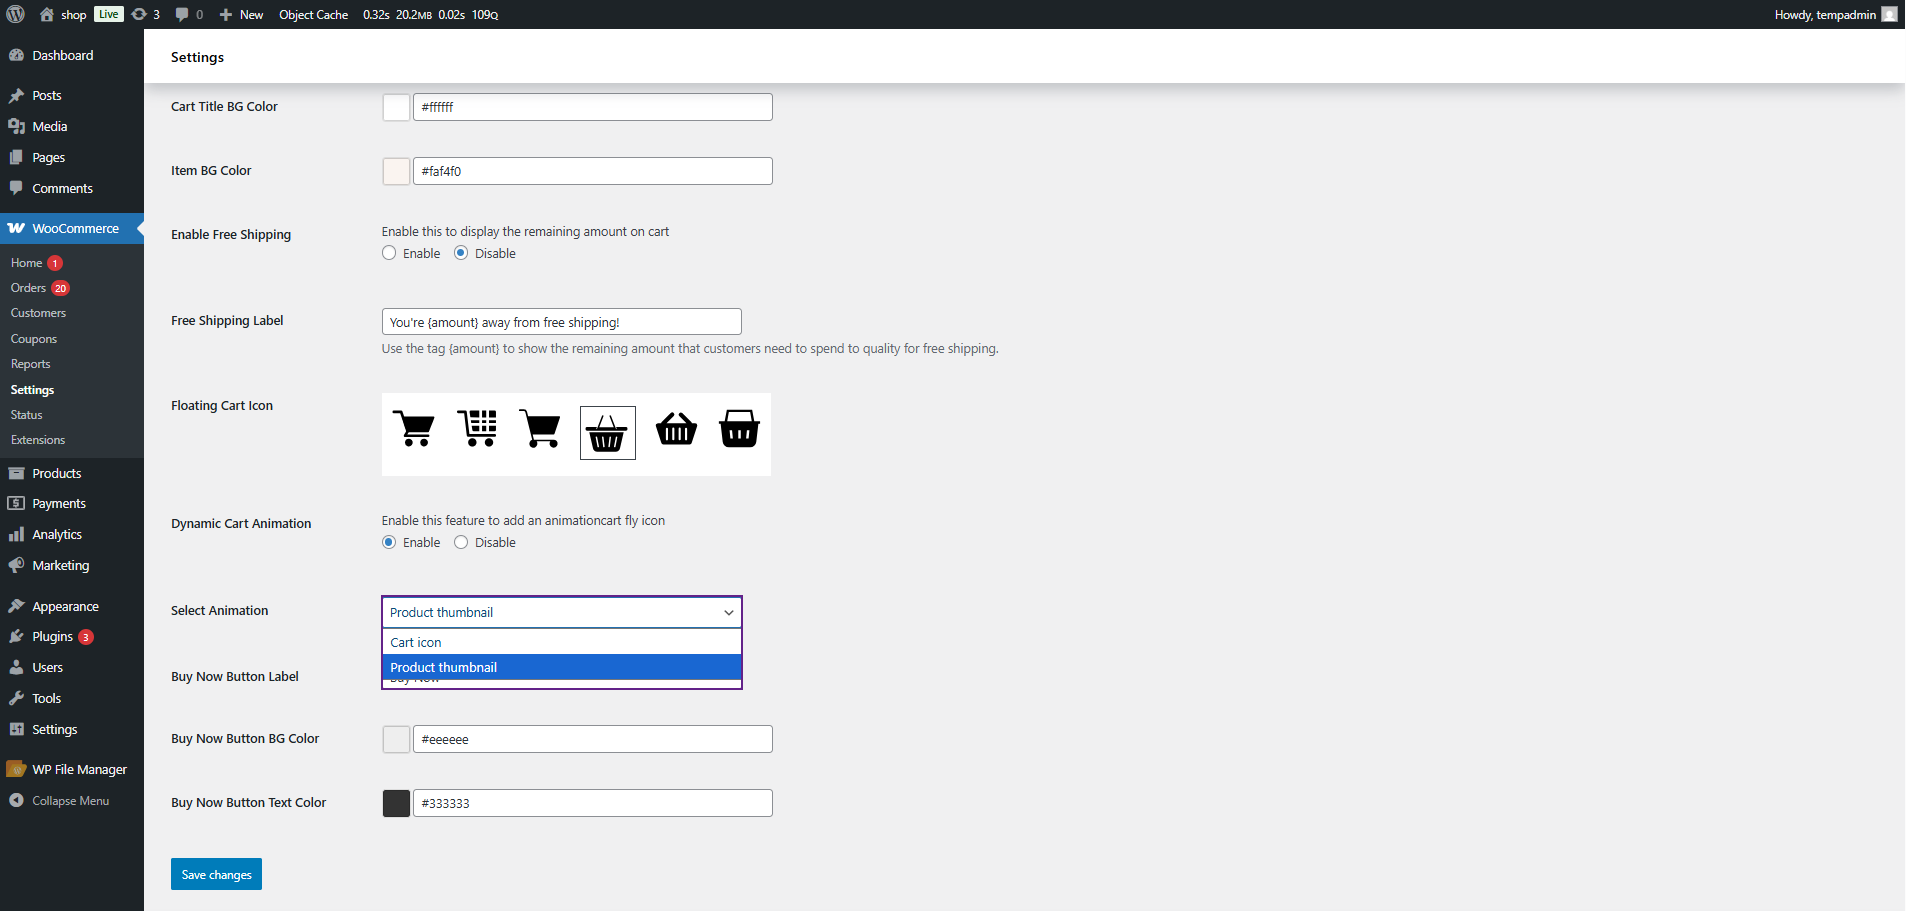
- Click the Save Changes button.
Front-End Impact
- Go to the shop.
- Add a product to the cart.
- Based on the selected option in the admin settings:
- If the Cart Icon is selected, an animation is triggered on the cart icon when the product is added.
- If Product Thumbnail is selected, the product image animates toward the cart area.