In order for the Stripe extension and Stripe’s systems to work together correctly, they must be able to “talk” back and forth. Our Stripe extension communicates to Stripe via their API, but Stripe communicates to the Stripe extension via webhooks.
This document covers how to ensure that your live mode and test mode webhooks are configured correctly.
Verifying the webhook status
↑ Back to topSince version 8.6.1 of the Stripe extension, webhooks are automatically set up when you connect to Stripe. Thus, there is no need to configure webhooks separately.
If you are upgrading to 8.6.1 or later from an older version of the Stripe extension, you can reconfigure the webhooks as detailed below.
You can verify that your webhooks are working like so:
- Navigate to WooCommerce > Settings > Payments > Stripe > Settings.
- In the Account details section, click the Configure connection button.
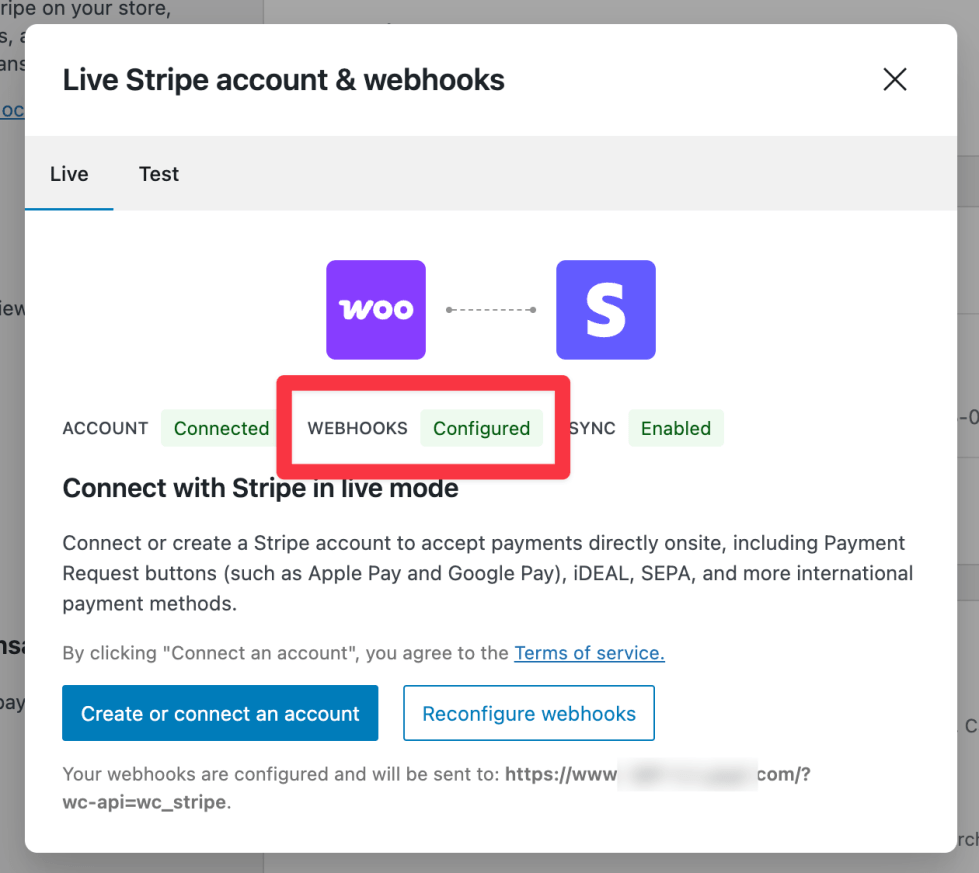
- Verify in the Live tab that the webhook status says “Configured.”
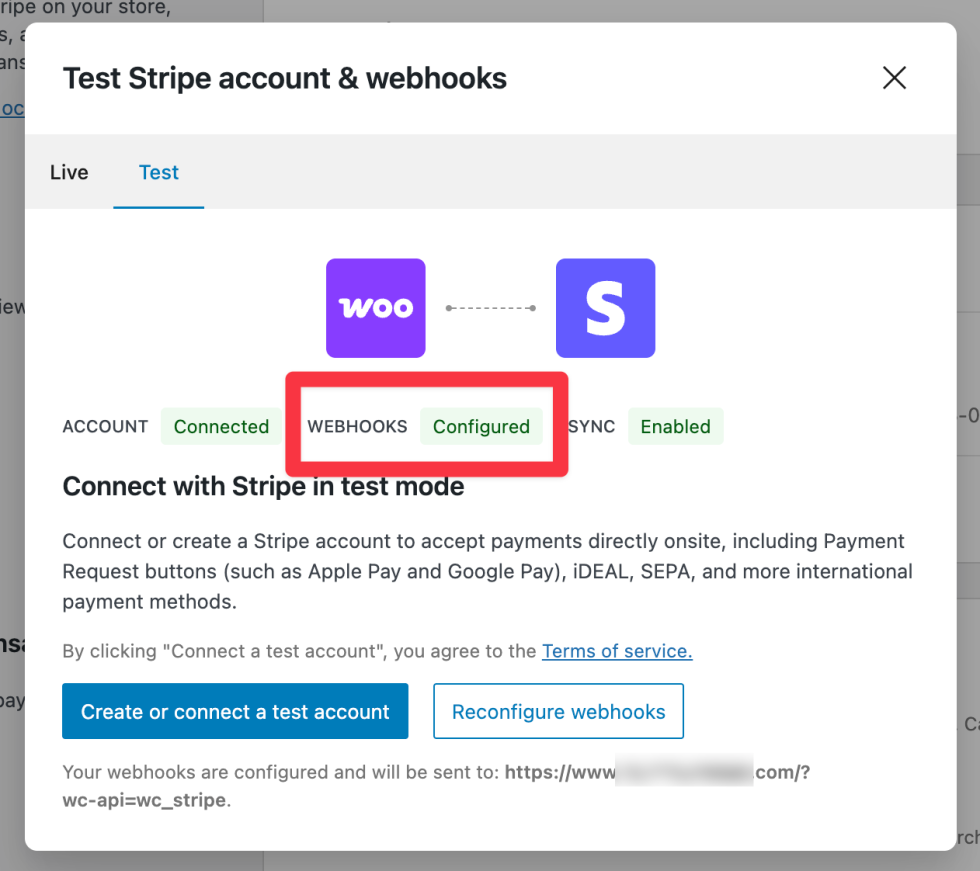
- Also verify in the Test tab that the test webhook status is “Configured.”
If the statuses are both correct, then your webhooks are working.
You can also verify that the webhooks are being processed successfully in the Account details section.

Reconfiguring webhooks
↑ Back to topIf the webhooks are ever accidentally deleted from the Stripe dashboard, or if you’re upgrading to version 8.6.1 or later from an older version, you can recreate them like so:
- Navigate to WooCommerce > Settings > Payments > Stripe > Settings.
- In the Account details section, click the Configure connection button.
- In the Live tab, click Reconfigure webhooks.
- In the Test tab, click Reconfigure webhooks.
This will recreate the correct webhooks in your Stripe account and remove any old ones that were pointing to your site.
Webhook endpoints
↑ Back to topNote that our Stripe extension only uses webhook endpoints in the following format:
https://www.example.com/?wc-api=wc_stripe
Any other endpoints you see in the Stripe dashboard likely come from other payment gateways or third-party services that integrate with Stripe.