Checkout Enhancer for WooCommerce enhances your user’s checkout experience and increases your conversion rate by adding intuitive features to the core WooCommerce checkout.
Installation
↑ Back to top- Download the checkout-enhancer-for-woocommerce.zip file from your WooCommerce account.
- Go to: WordPress Admin > Plugins > Add New and Upload Plugin.
- Choose File and select the file you downloaded in step 1.
- Install Now and Activate Plugin.
More information at: Install and Activate Plugins/Extensions.
Setup and Configuration
↑ Back to topPlugins settings are available within WooCommerce > Settings > Checkout Enhancer.
General Settings
↑ Back to top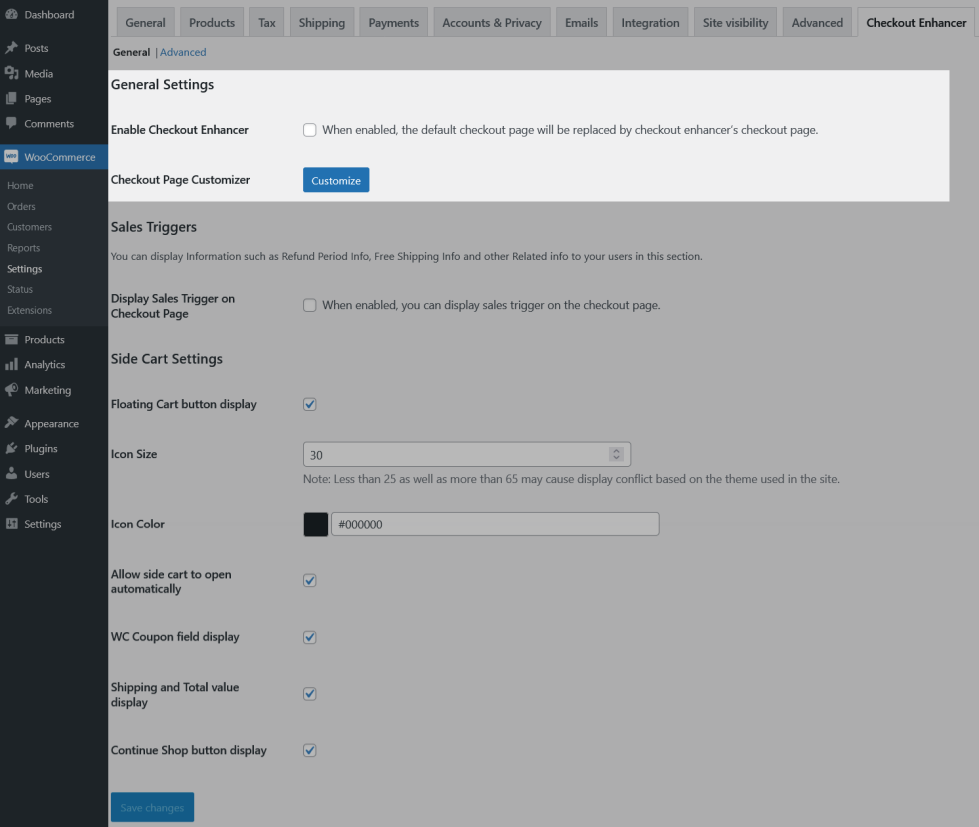
Select Enable Checkout Enhancer to enable plugin functionality.
Under the Checkout Page Customizer, click Customize to configure Checkout page options.
Customizer Configuration
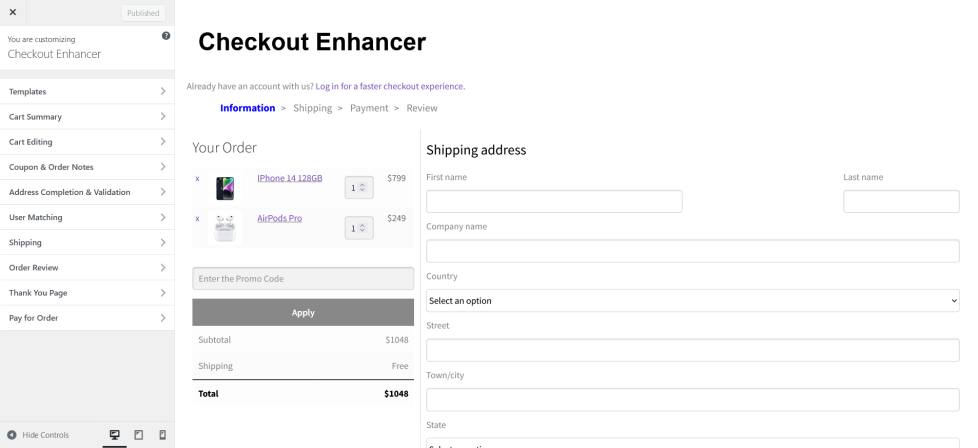
You will be redirected to the Customizer section when clicking the Customize button.
Templates
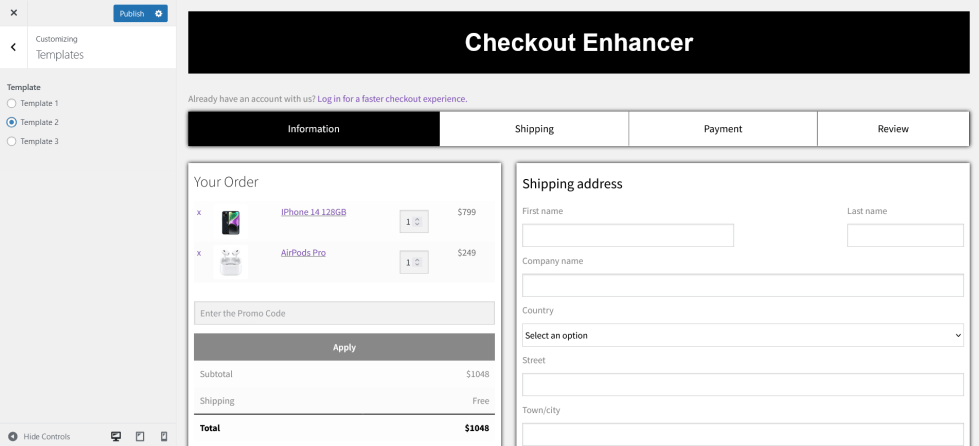
By default, 3 in-built templates available and you choose from those template options.
Cart Summary
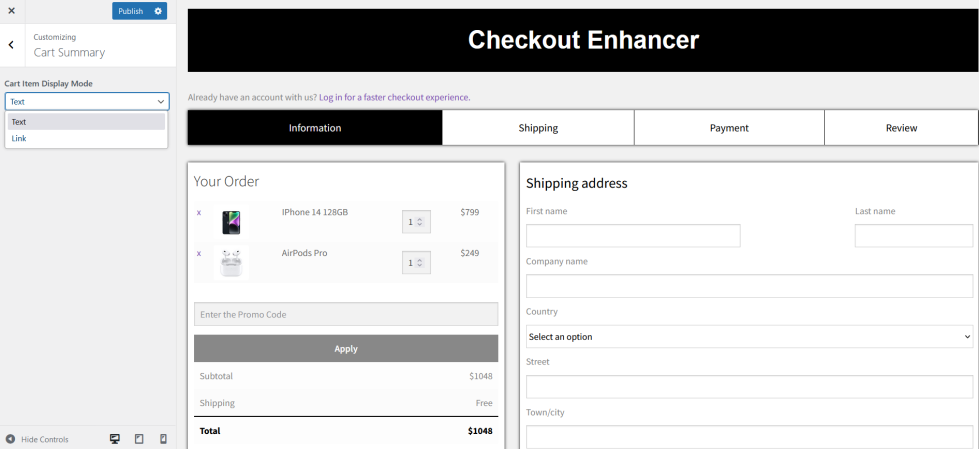
By default, the cart items on the checkout page displays with a link to the product page. Within this section, choose whether to display text or link for the product name.
Cart Editing

This option allows you to enable or disable cart modifications[like quantity customization, product removal] on the checkout page.
Coupons & Order Notes
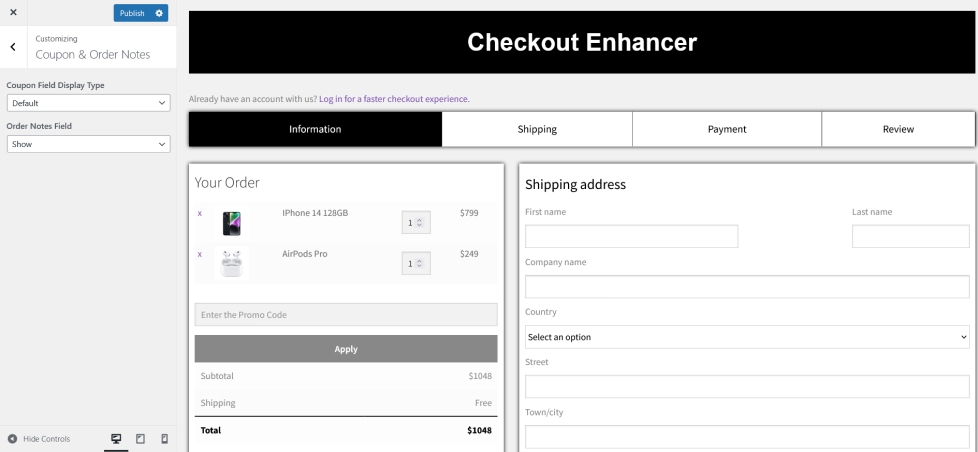
The Coupon Field Display Type option allows you to customize the appearance of the Coupon field on the checkout page.
By default, order notes field will display on the checkout page. The Order Notes Field allows you to hide or display the field.
Address Completion & Validation
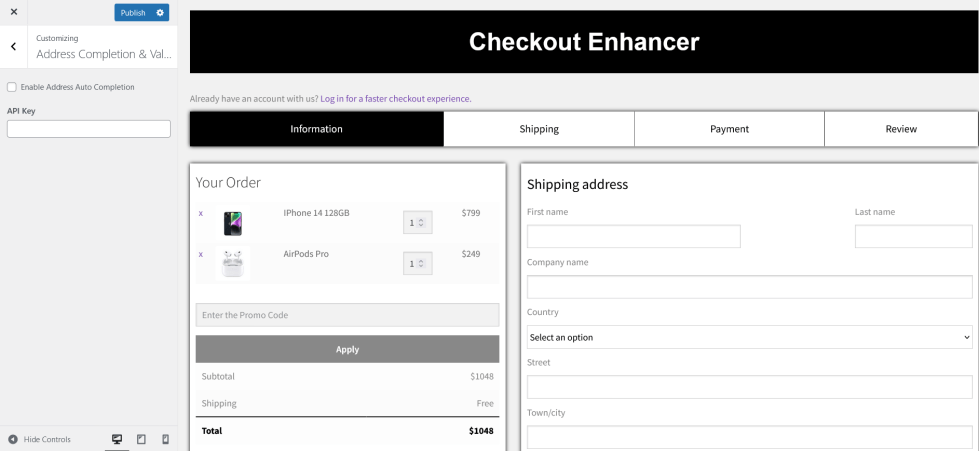
Option to enable Google Address Auto-Complete for your users to easily enter their addresses and validate incorrect addresses.
User Matching
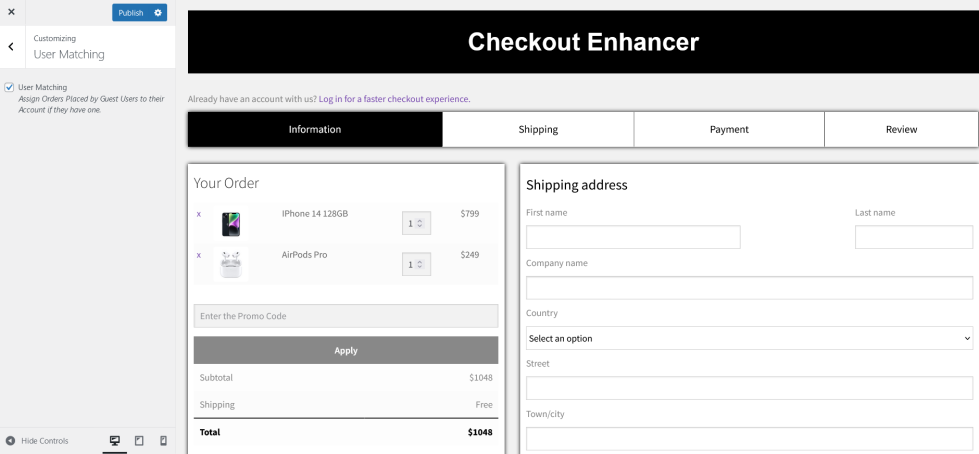
By default, when a guest user enters an already registered email address, a notice displays stating the account already exists. Enable this option to assign orders placed by guest users to their account if they have one.
Shipping
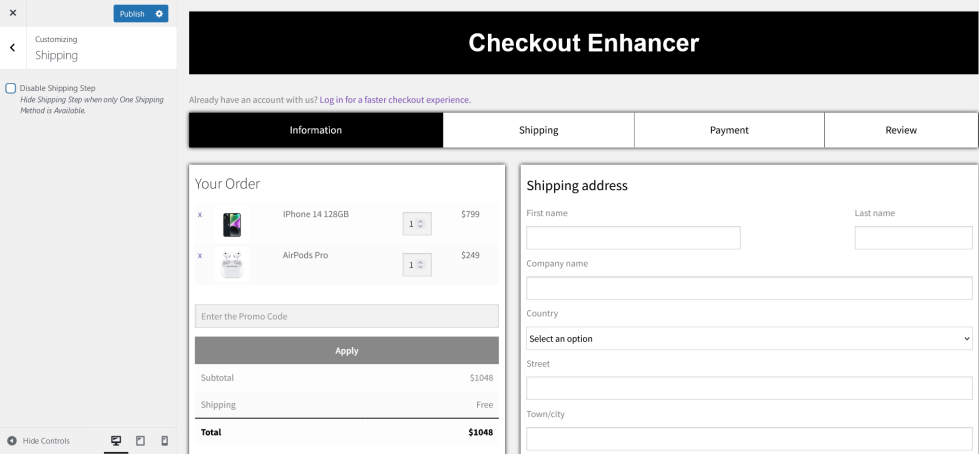
Option to hide the shipping method selection step if there is only one shipping method available on the site.
Order Review
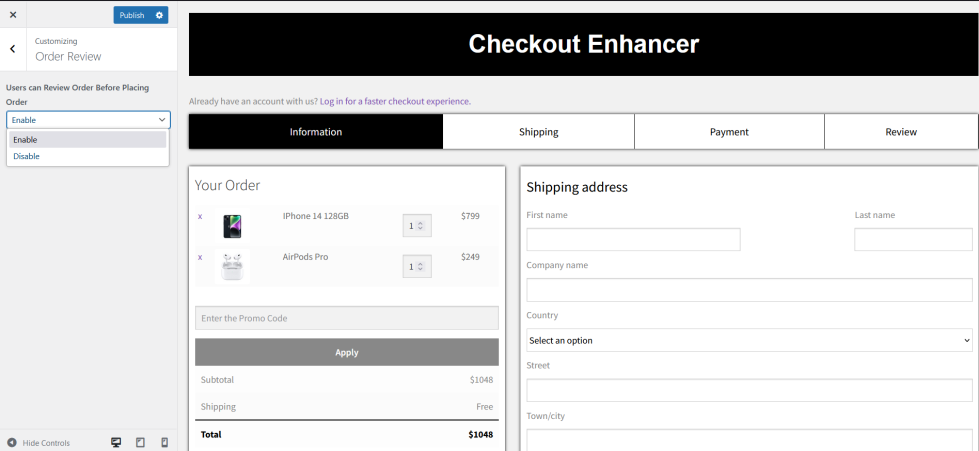
By default, users can review their orders before placing it. This options allows you to turn off order review.
Thank You Page
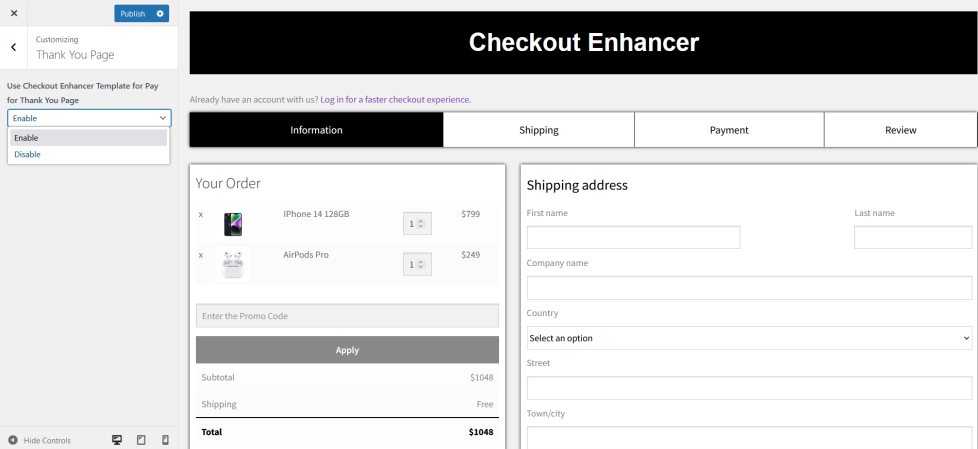
The default “Thank You” template displays on the order page after an order is placed. You can choose to disable the default template and use the Theme’s Thank You page template instead.
Pay for Order
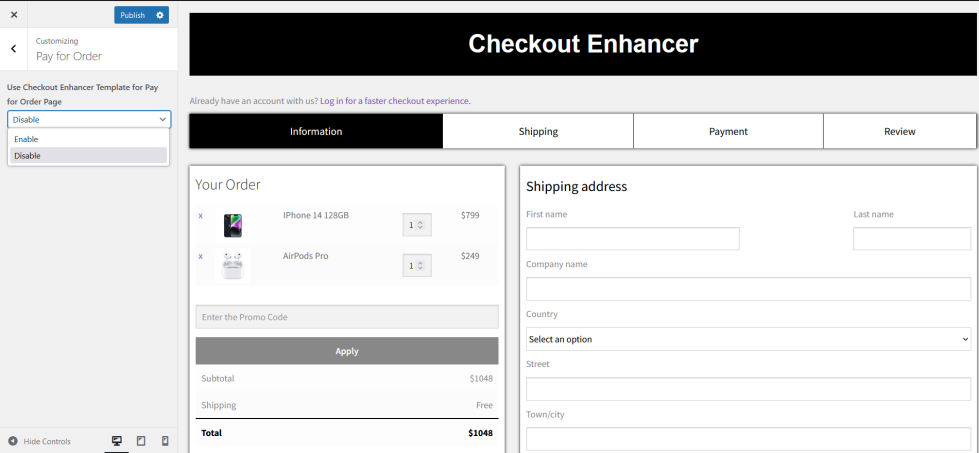
The default “Pay for Order” template displays to the user after an order is placed . You can optionally disable and use the theme’s “Pay for Order” Template.
Sales Trigger

Under the Checkout Page Customizer, go to Sales Triggers to configure sales triggers display feature.
- In order to display the Sales Triggers to the users in the Checkout Page, enable the “Display Sales Trigger on Checkout Page” checkbox.
- Enter the title for the section as per your need in the Section Title field.
- In order to add a new sales trigger info, click the Add New Guarantee button.
- Enter the title in the Title field and respective content in the Content field.
- In order to display image for the sales trigger option, then include it using the Select Image button.
- Similarly, you can include more number of sales triggers.
Side Cart

Under the Checkout Page Customizer, go to Side Cart to configure side cart display feature.
- In order to display the floating cart button to the users, enable the “Floating Cart button display” checkbox.
- Enter the size of the floating cart button as per your need in the Icon Size field.
- Customize the floating cart button’s color in Icon Color field.
- In order to open to the side cart to open automatically whenever adding new item, enable the “Allow side cart to open automatically” checkbox.
- In order to display WooCommerce Coupon field in the side cart, enable the “WC Coupon field display” checkbox.
- In order to display Shipping and Total cost value in the side cart, enable the “Shipping and Total value display” checkbox.
- In order to display continue shopping option in the side cart, enable the “Continue Shop button display” checkbox.
Translation
↑ Back to topCheckout Enhancer for WooCommerce is translation ready, meaning you can edit the po files and translate the text to any language. Steps to perform the translation are as follows. For example, a translation to French.
- Download and install Poedit
- Open the file checkout-enhancer-for-woocommerce > languages > checkout-enhancer-for-woocommerce.pot using Poedit.
- Create a new translation file by clicking Create new translation button.
- Choose the Source text and set its corresponding French text in Translation Text Area.
- Save the changes.
- Save the file name as checkout-enhancer-for-woocommerce-fr_FR.po.
- Then go to WordPress dashboard > Settings > General and select the Site Language as French.
