Security for WooCommerce protects your store from hackers and cyberattack. Designed specifically for WooCommerce, it helps safeguard your store against malicious traffic and vulnerabilities in real time.
Installation
↑ Back to top- Download the .zip file from your WooCommerce account.
- Go to: WordPress Admin > Plugins > Add New > Upload Plugin
- Choose File for the file you downloaded.
- Install Now and Activate Plugin.
More information at: Install and Activate Plugins/Extensions.
Setup and Configuration
↑ Back to topTo set up your store with Security for WooCommerce:
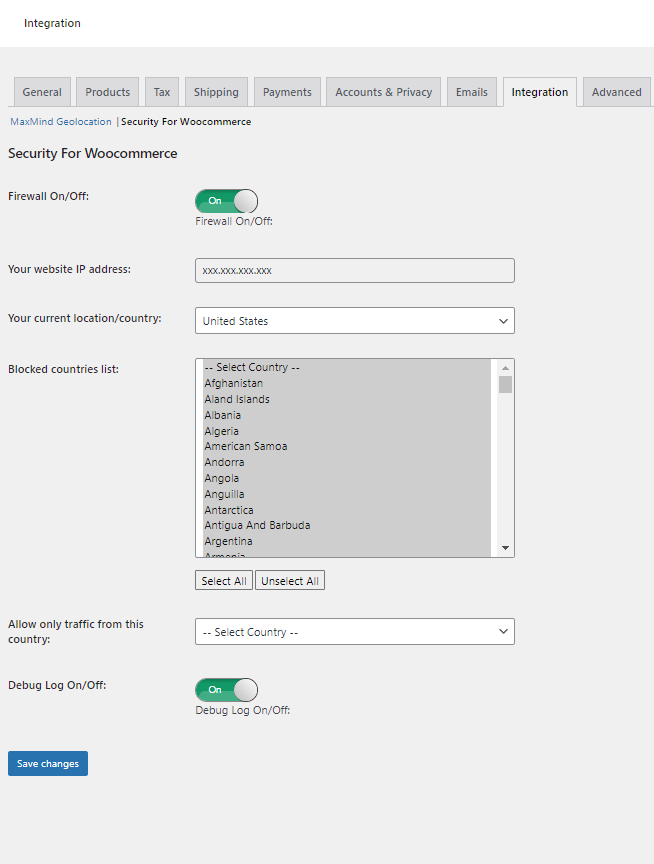
- Go to: WooCommerce > Settings > Integration > Security for WooCommerce
- Enable Firewall On/Off button to activate the plugin.
- Your website IP address will be loaded automatically in the next tab.
- Select your location country in Your current location/country tab.
Allow/Block Customers from Multiple Countries
↑ Back to topTo block and allow audience from multiple countries:
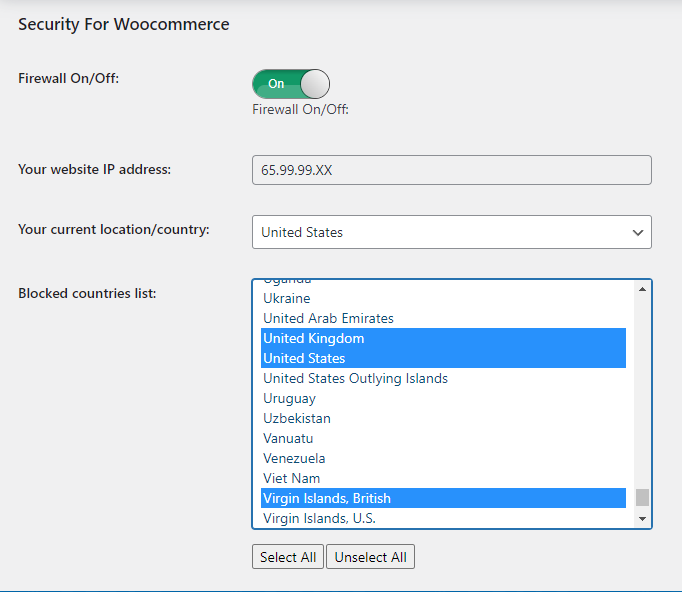
- Go to Blocked countries list tab.
- Click Select All to check all the countries, uncheck your country of origin and keep unchecking all other countries you want to allow, keeping Ctrl or ⌘ key pressed while selecting from the list of countries.
- Save changes by clicking Save changes button at the bottom of Security for WooCommerce settings.
Restrict Customers to a Single County
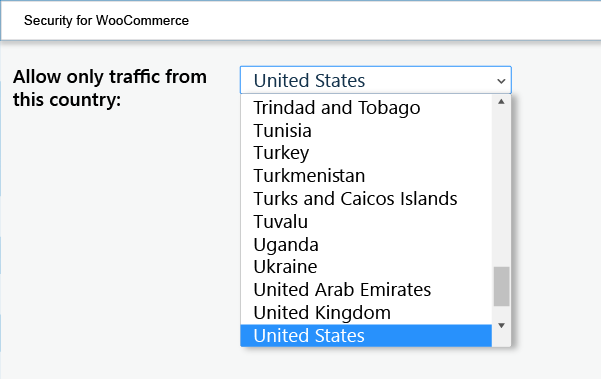
↑ Back to topIf your business serves only one country and you want to restrict access to audiences from that specific location, then:
- Go to Allow only traffic from this country tab.
- Select the country you want to allow audience for and save changes.
Whitelisting of IPs
↑ Back to topTo manually whitelist IP addresses;
- Navigate to Whitelist IPs tab.
- Add the IP address to whitelist. Press Tab, Enter or Comma ( , ) to add another IP address.

Blacklisting of IPs
↑ Back to topTo manually backlist IP addresses:
- Go to Blacklisted IPs tab.
- Enter IP address to add to the blacklist. Press Tab, Enter or Comma ( , ) to add another IP address.

Usage
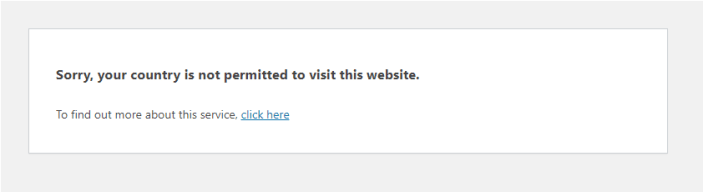
↑ Back to topWhen a visitor arrives from a country that the merchant is not offering business to, they will see the following message,
“Sorry, your country is not permitted to visit this website.“
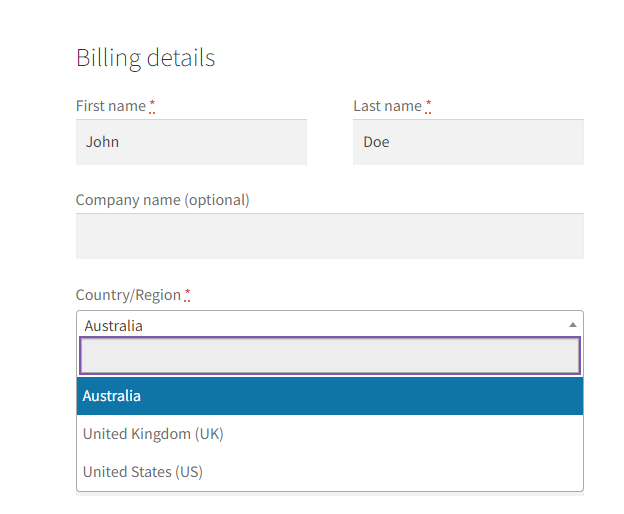
Also, when customers come from allowed countries, on checkout they will be given option to ship products to only countries that merchant has authorised to offer service.
Troubleshooting
↑ Back to topIf you encounter an error, turn the Debug Log On/Off, save the changes, and reach out to us for assistance.
FAQs
↑ Back to top↑ Back to top
Error: Security For WooCommerce – Proxycheck API Limit Exceeded
This error is triggered due to the current 500 API Limit which is required for Proxy / VPN detection. We will be removing this limit in the upcoming releases of the plugin.